
Connecting where it publishes
Updated · First published
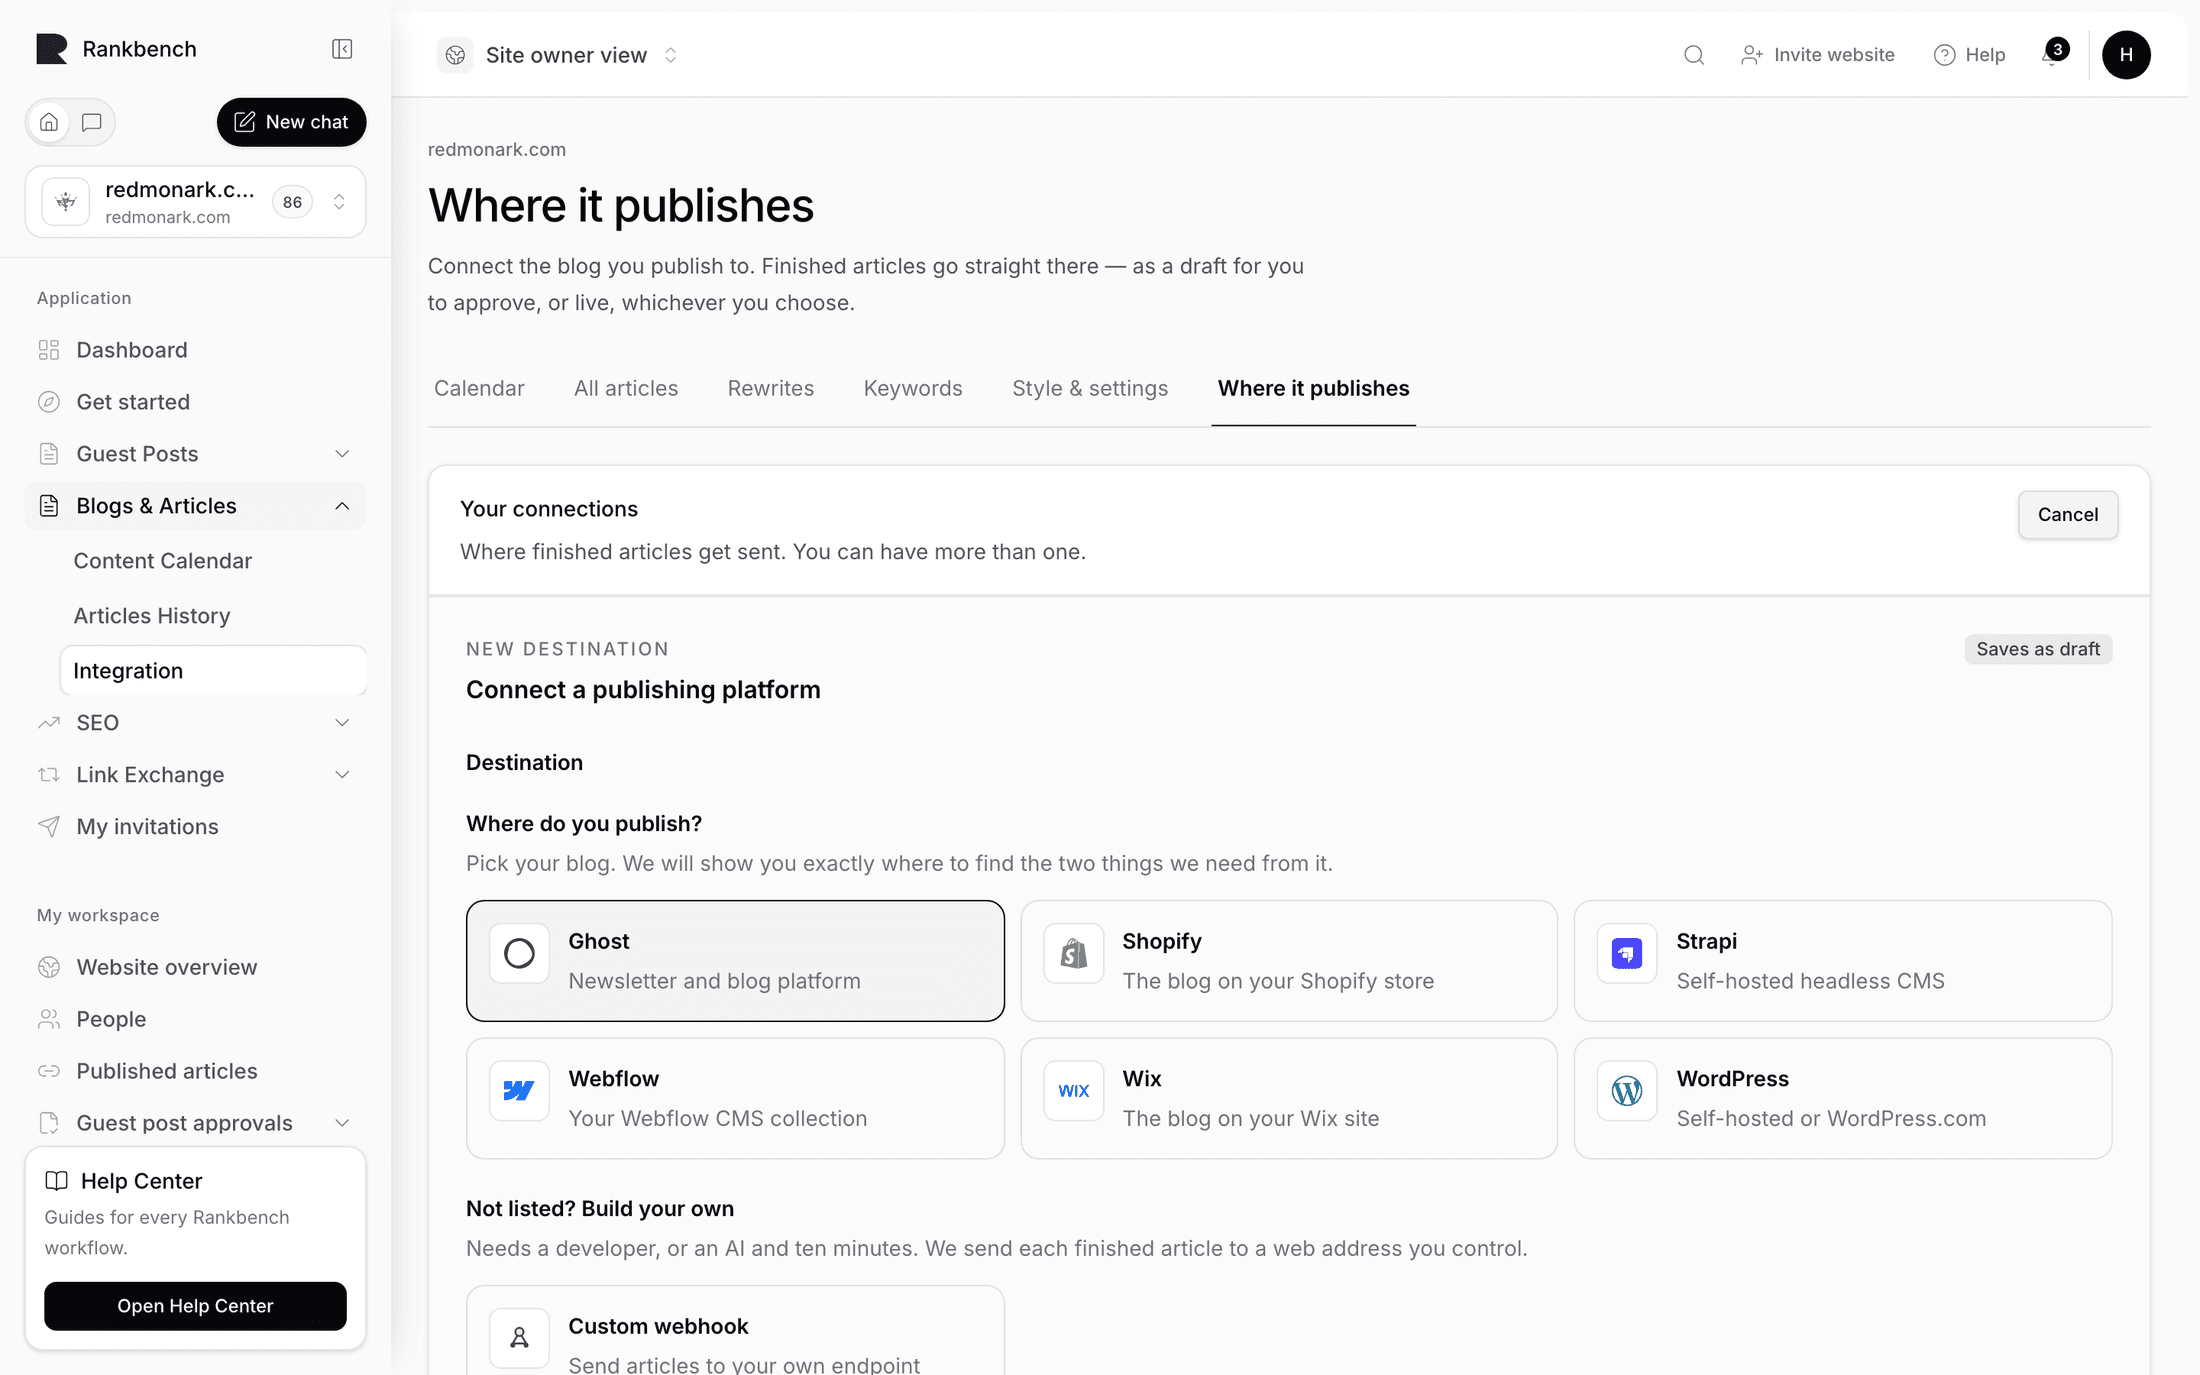
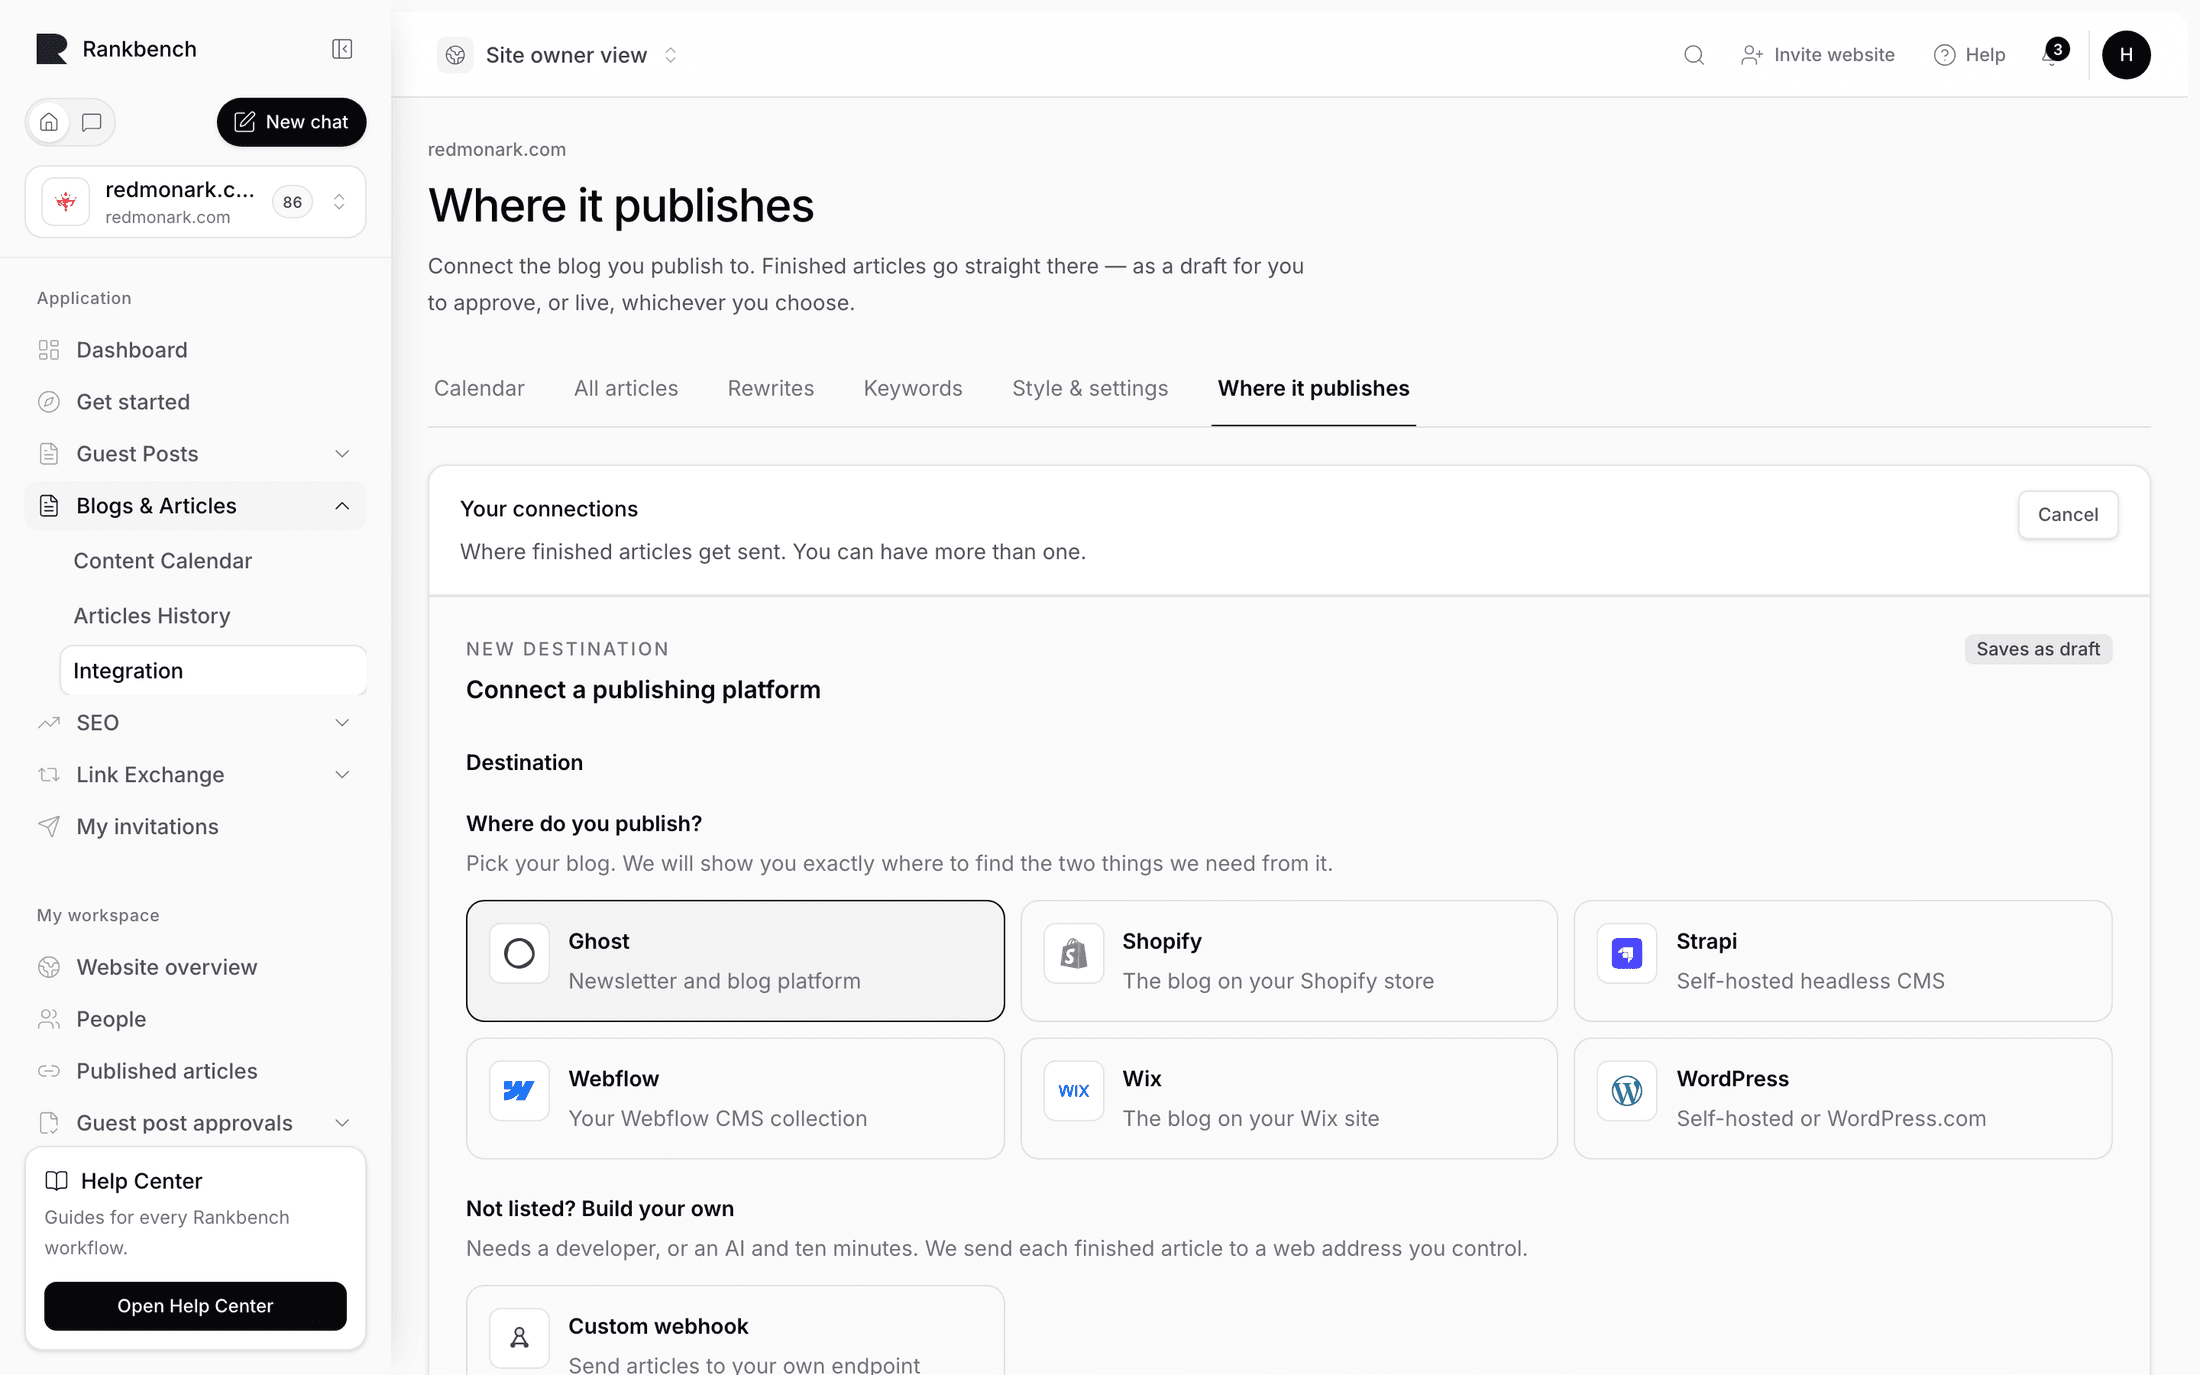
Where it publishes is where you connect the blog finished articles get sent to, described as "Connect the blog you publish to. Finished articles go straight there — as a draft for you to approve, or live, whichever you choose."
Without a connection nothing is lost. Finished drafts wait in Rankbench for you, and the calendar's status line says so.
The platforms
WordPress, Ghost, Webflow, Wix, Shopify and Strapi, plus your own webhook for anything else.
WordPress has its own step by step guide, including what to do when Test fails: Connecting WordPress.
The picker asks "Where do you publish?" and promises to show you exactly where to find the two things it needs from your platform, which is usually an address and a key.
Adding one
Add a connection, pick your platform, name it, and fill in its fields. The name is for you, and matters once you have more than one.
Credentials are stored privately and never shown again, which the form says. If you need to change one later you re-enter it; leaving it blank keeps what is there.
The platform of an existing connection cannot be changed. Remove it and add a new one instead.
Draft or live
Each connection carries a default: send articles as a draft for you to approve in your own CMS, or publish them live.
Draft is the right default for most people, and it is what the calendar's status line will report. A connection that sends drafts says so on Where it publishes, with Publish them live instead to switch it in one press. Its address, keys and other settings stay as they are.
You can override it for a single article when you publish that one from its day page.
More than one
You can have several connections. The page says so: "Where finished articles get sent. You can have more than one."
Useful for publishing to a staging site as well as a live one, or for a site with two blogs.
Testing and removing
Each connection can be tested, which checks the credentials actually work rather than waiting for a real article to fail. The page records when it was last verified.
Removing one stops articles going there. It does not touch anything already published.
The webhook
For a platform not on the list, described plainly: this one is for developers. It is not the route to take if your blog is WordPress.
Rankbench sends each finished article to an address you control, as JSON, one request per article, signed so you can verify it came from us. The guide shows the exact body, and offers the whole contract as text you can hand to a developer, or paste into an AI editor along with your stack, to get the endpoint written.
Images are included in the payload, and the guide covers what your endpoint needs to do with them.
Empty boxes where the pictures should be
This one is worth reading before it happens to you, because the symptom points at the wrong culprit.
The images in a published article are hosted by us at assets.rankbench.io, and they are public. If your own site sends a Content-Security-Policy header, its img-src directive has to include that host, or the browser blocks every article image and your readers get empty boxes. The reason it is confusing is that the article looks perfect on the way out: the pictures load fine in the Rankbench preview, because the preview is served from the host that is allowed. Nothing is wrong with the payload, or the endpoint, or the article. The page rendering it refuses to fetch the pictures.
The line you need is:
img-src 'self' data: https://assets.rankbench.io;Look for a CSP in your framework config, your host's settings, or a middleware file. If your framework also keeps a list of permitted remote image hosts, that list needs the same entry.
If you set this up before September 2026, your allowlist may name an older image host. Articles published back then still load from it and will keep working, so leave it in place and add the address above alongside it.
The alternative, and the better one if your endpoint can manage it, is to not depend on us at all: download each image as the article arrives, put it in your own storage, and rewrite the URLs before you save the post. Then there is no CSP line to add and nothing to break later. Keep the alt text exactly as written when you do.
When credentials cannot be stored
On an installation without its credential encryption key configured, the page says so rather than accepting a password it cannot protect. That is a server setup step, not something you can fix from here.
Where to go next
Publishing and what happens next covers what happens once a connection exists.
Still stuck?
Open Rankbench and the page this article describes — most screens explain themselves as you go.