
Adding your first website
Updated · First published
Everything a site owner does here starts with a site: audits, backlink exchanges, guest post rules, the content calendar. Adding one takes about a minute, and Rankbench then shows how far its setup has got and what to do next.
One website is one workspace. Adding a second site later creates a second workspace and takes you into it, so each site keeps its own people, settings and records. Workspaces, the switcher and your view covers what that means day to day.
What do you want to do first?
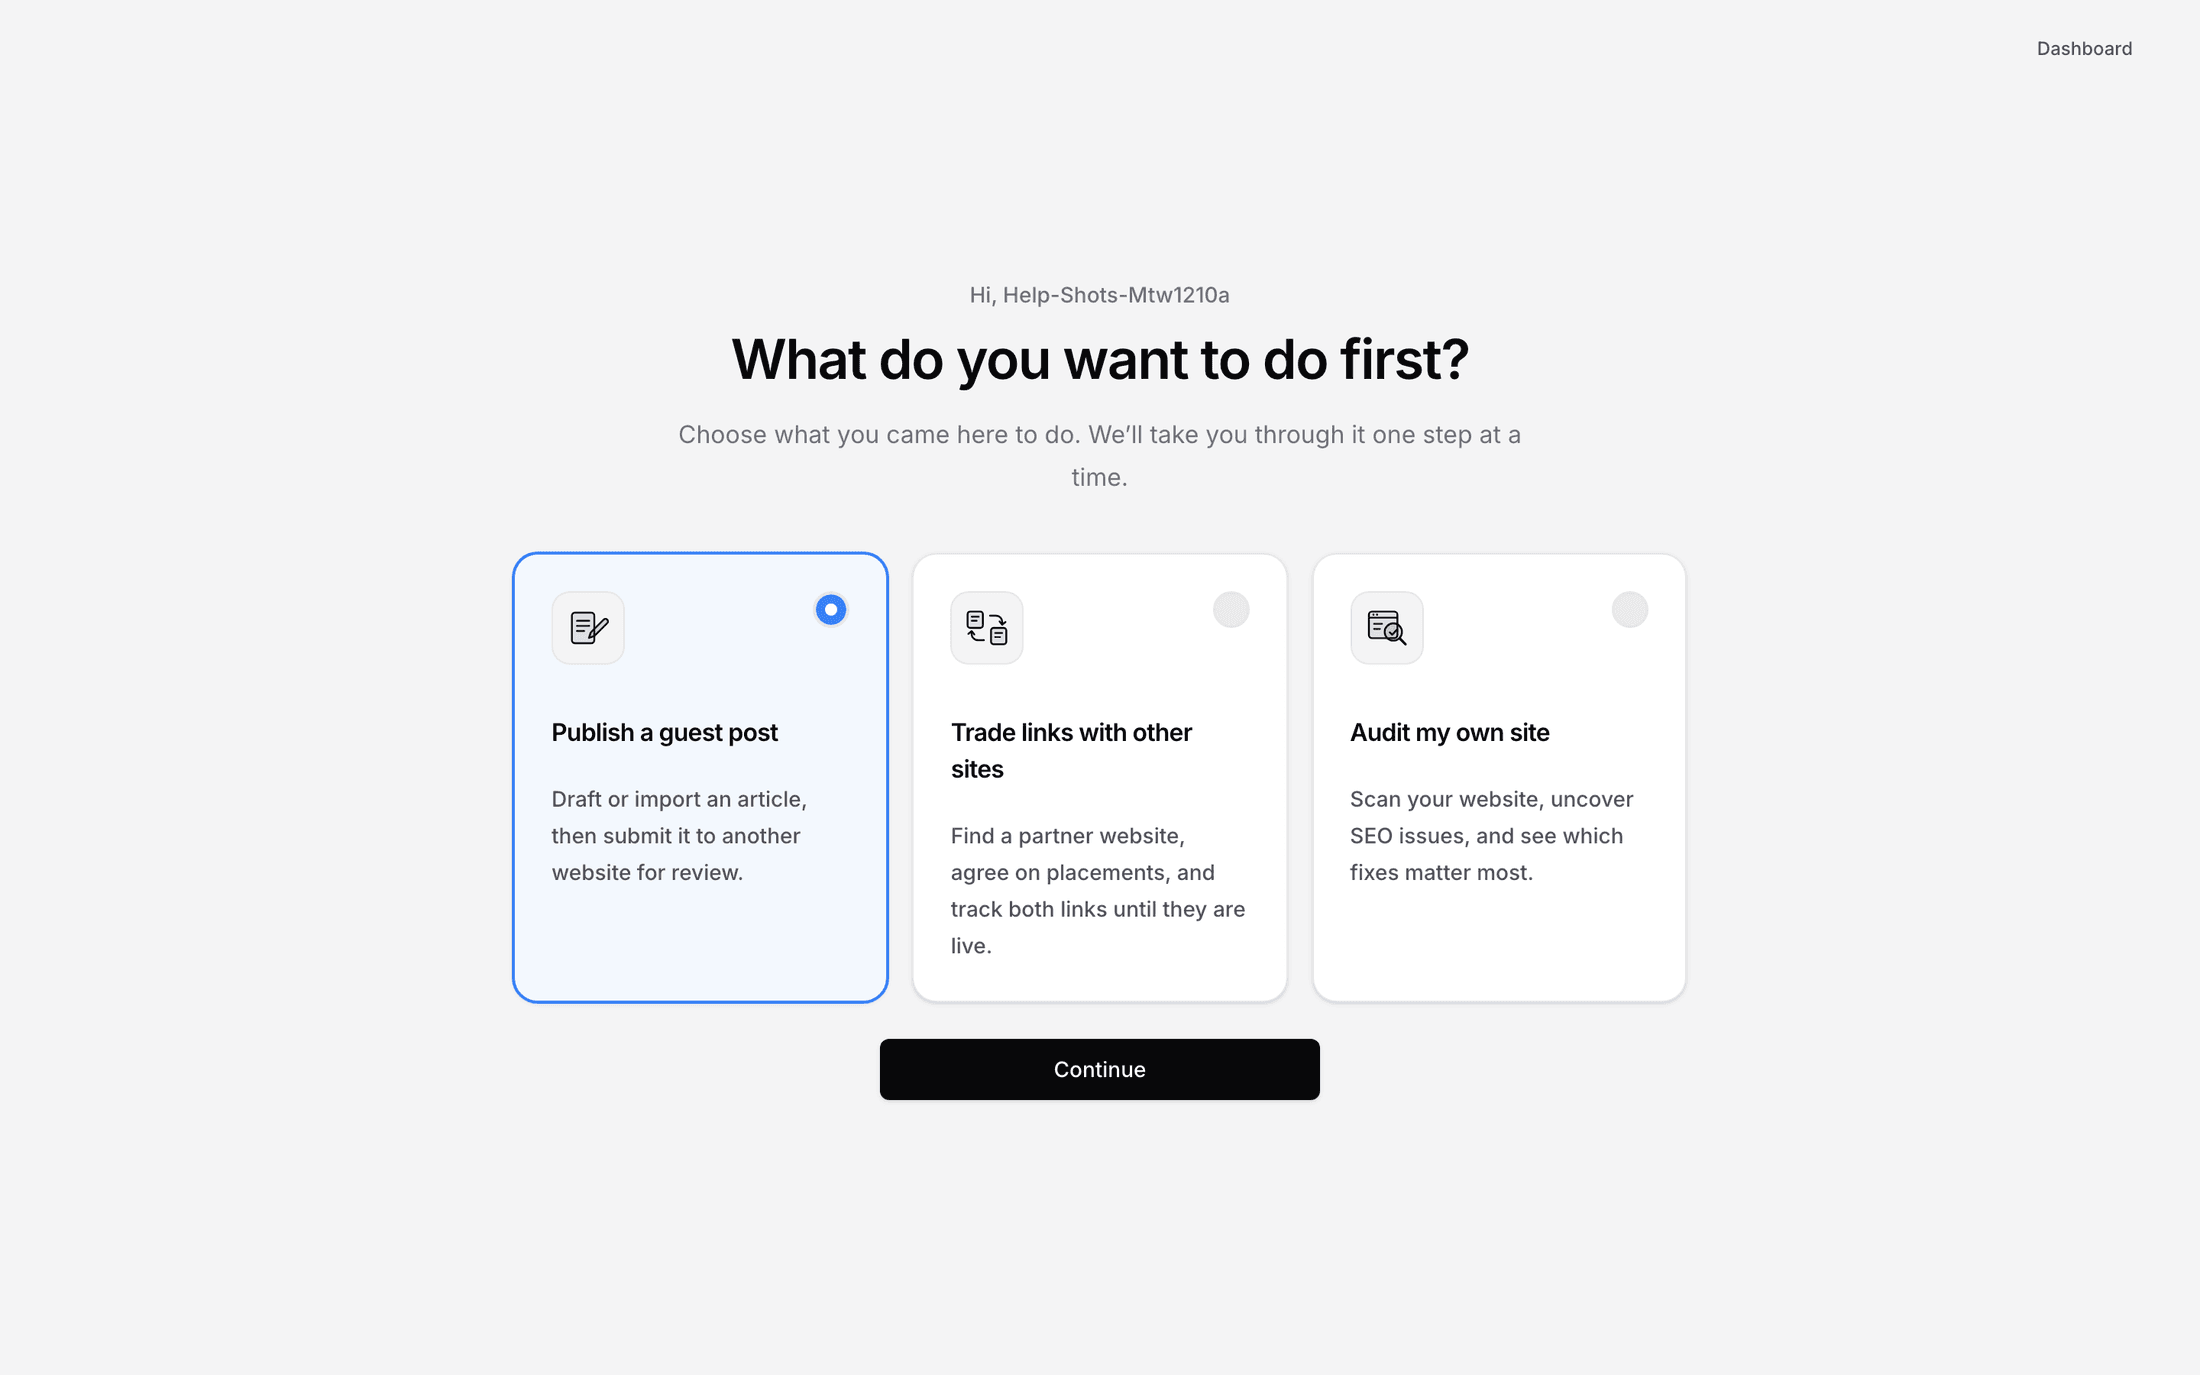
You land on Get started after signing up. It greets you by name and asks one question, under the line "Choose what you came here to do. We'll take you through it one step at a time."
Three cards, with the first one chosen for you unless you arrived through an invitation for something else:
Grow my traffic with SEO and a blog: "We audit your site, show you what to fix, then plan and write articles for your blog. Your first week of writing is free."
Trade links with other sites: "You link to them, they link to you. We find partner sites and check that both links stay live."
Write a guest post for another site: "For writers: send an article to a site that accepts guest posts, and track it until it is published."
Pick one and press Continue. Your choice is remembered, and choosing again later just updates it.
Where each card leads
Write a guest post for another site goes to the guest post intake. No site of your own is needed, because you are writing for somebody else's. Pick the story up in submitting your first guest post.
Trade links with other sites asks What can you offer? first, because an exchange needs something of yours that can carry a partner's link. A website I manage continues to the setup below. An article I’ve published is for a page somewhere else that you can still edit, and asks which best describes your access to it, from editing it yourself through to only being able to make introductions; pages you published elsewhere is the article for that path. Several websites I manage for clients opens agency view.
Grow my traffic with SEO and a blog goes straight to setup. When the audit has read your site, Plan my articles turns it into a month of blog posts, and Rankbench writes the first week free.
Setting the site up
From Get started the steps are short. Which website should we use? asks for the site's name and address. The next screen asks you to prove the site is yours. Then the SEO route reads your site, and the exchange route asks you to Set your backlink exchange rules.
Adding a site any other way, with Add another site in the switcher or from an invitation, walks through a fuller setup. It is the same whether you came here yourself or were invited by somebody else.
Confirm website. One field for the address. With or without https:// is fine, and your homepage is the right thing to paste. Rankbench reduces whatever you give it to the root domain.
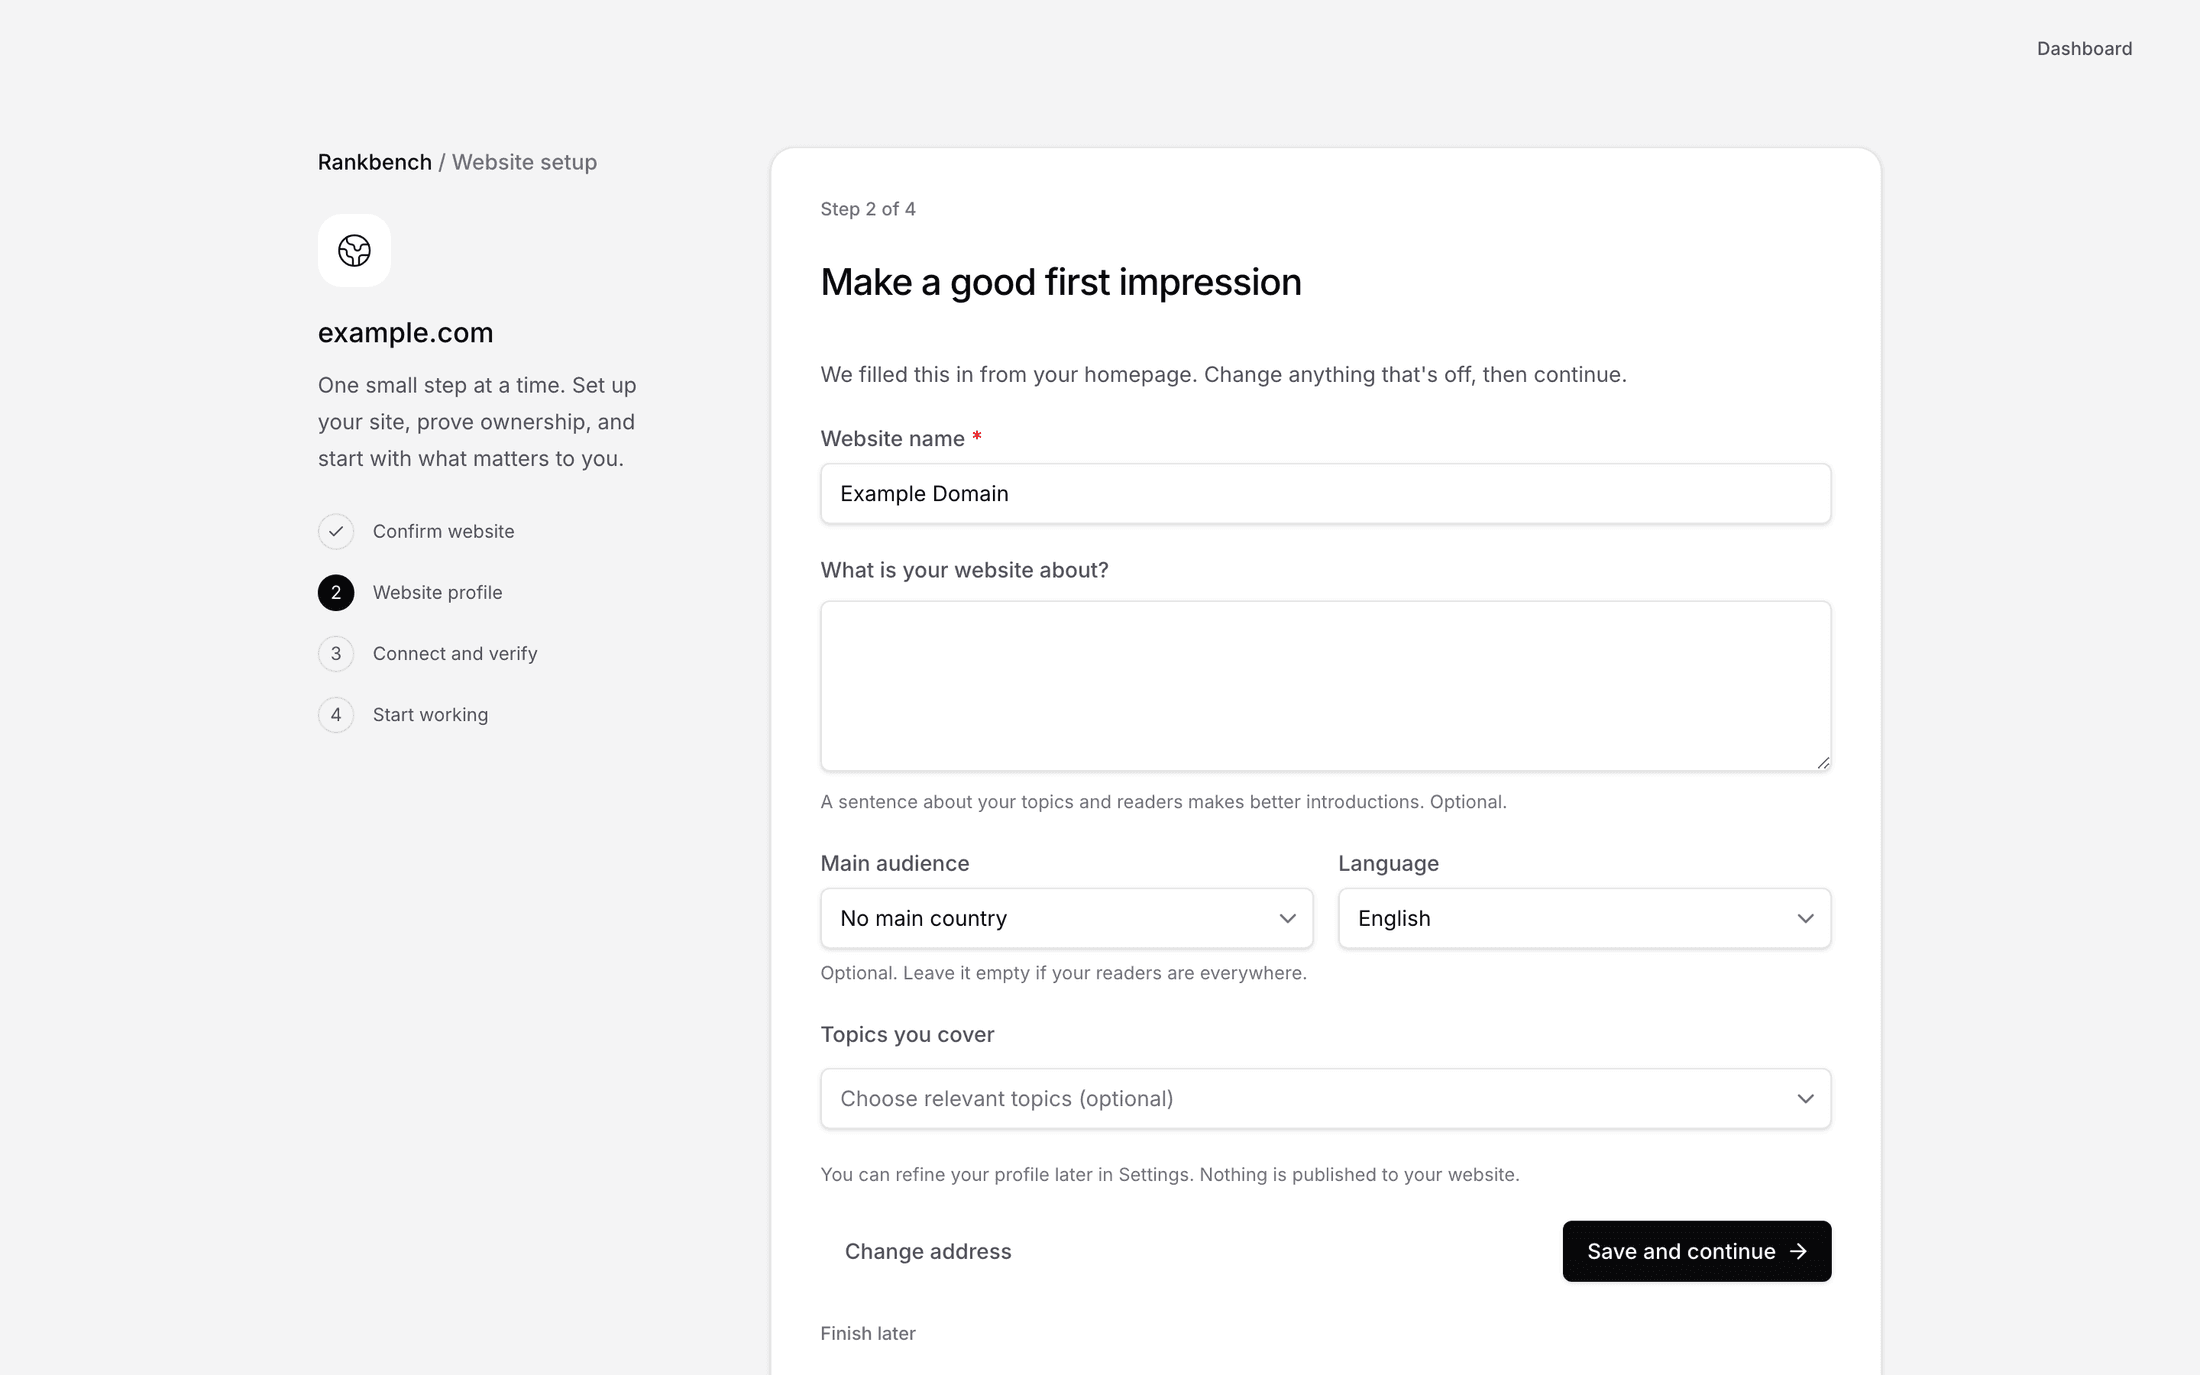
Website profile. Rankbench reads your homepage and fills in what it can find, then asks you to check it: "We filled this in from your homepage. Change anything that's off, then continue." You get a name, a description of what the site is about, a main audience country, the language and a set of topics. All of it is optional detail that makes introductions to other sites better, and all of it is editable later in Settings. If the homepage could not be read, you are told that and asked for a name instead.
Agent access. This step appears only when somebody invited you and asked to help with your SEO. It is described in inviting a website to Rankbench.
Connect and verify. The step that proves the site is yours. It leads with Google Search Console, and the other proofs are listed under Other ways to verify. This is the step people are tempted to skip and the one most worth doing, so it has its own article: proving your site is yours.
Start working. The last screen asks What would you like to do first? and sends you to the right place: your Partners page for backlink exchanges, your guest post rules and submission link for guest posts, or your site's audit.
Finish later is available on every step, and the site is saved as you go. If you close the tab at verification, the site is still there when you come back.
What to do next, on your Website overview
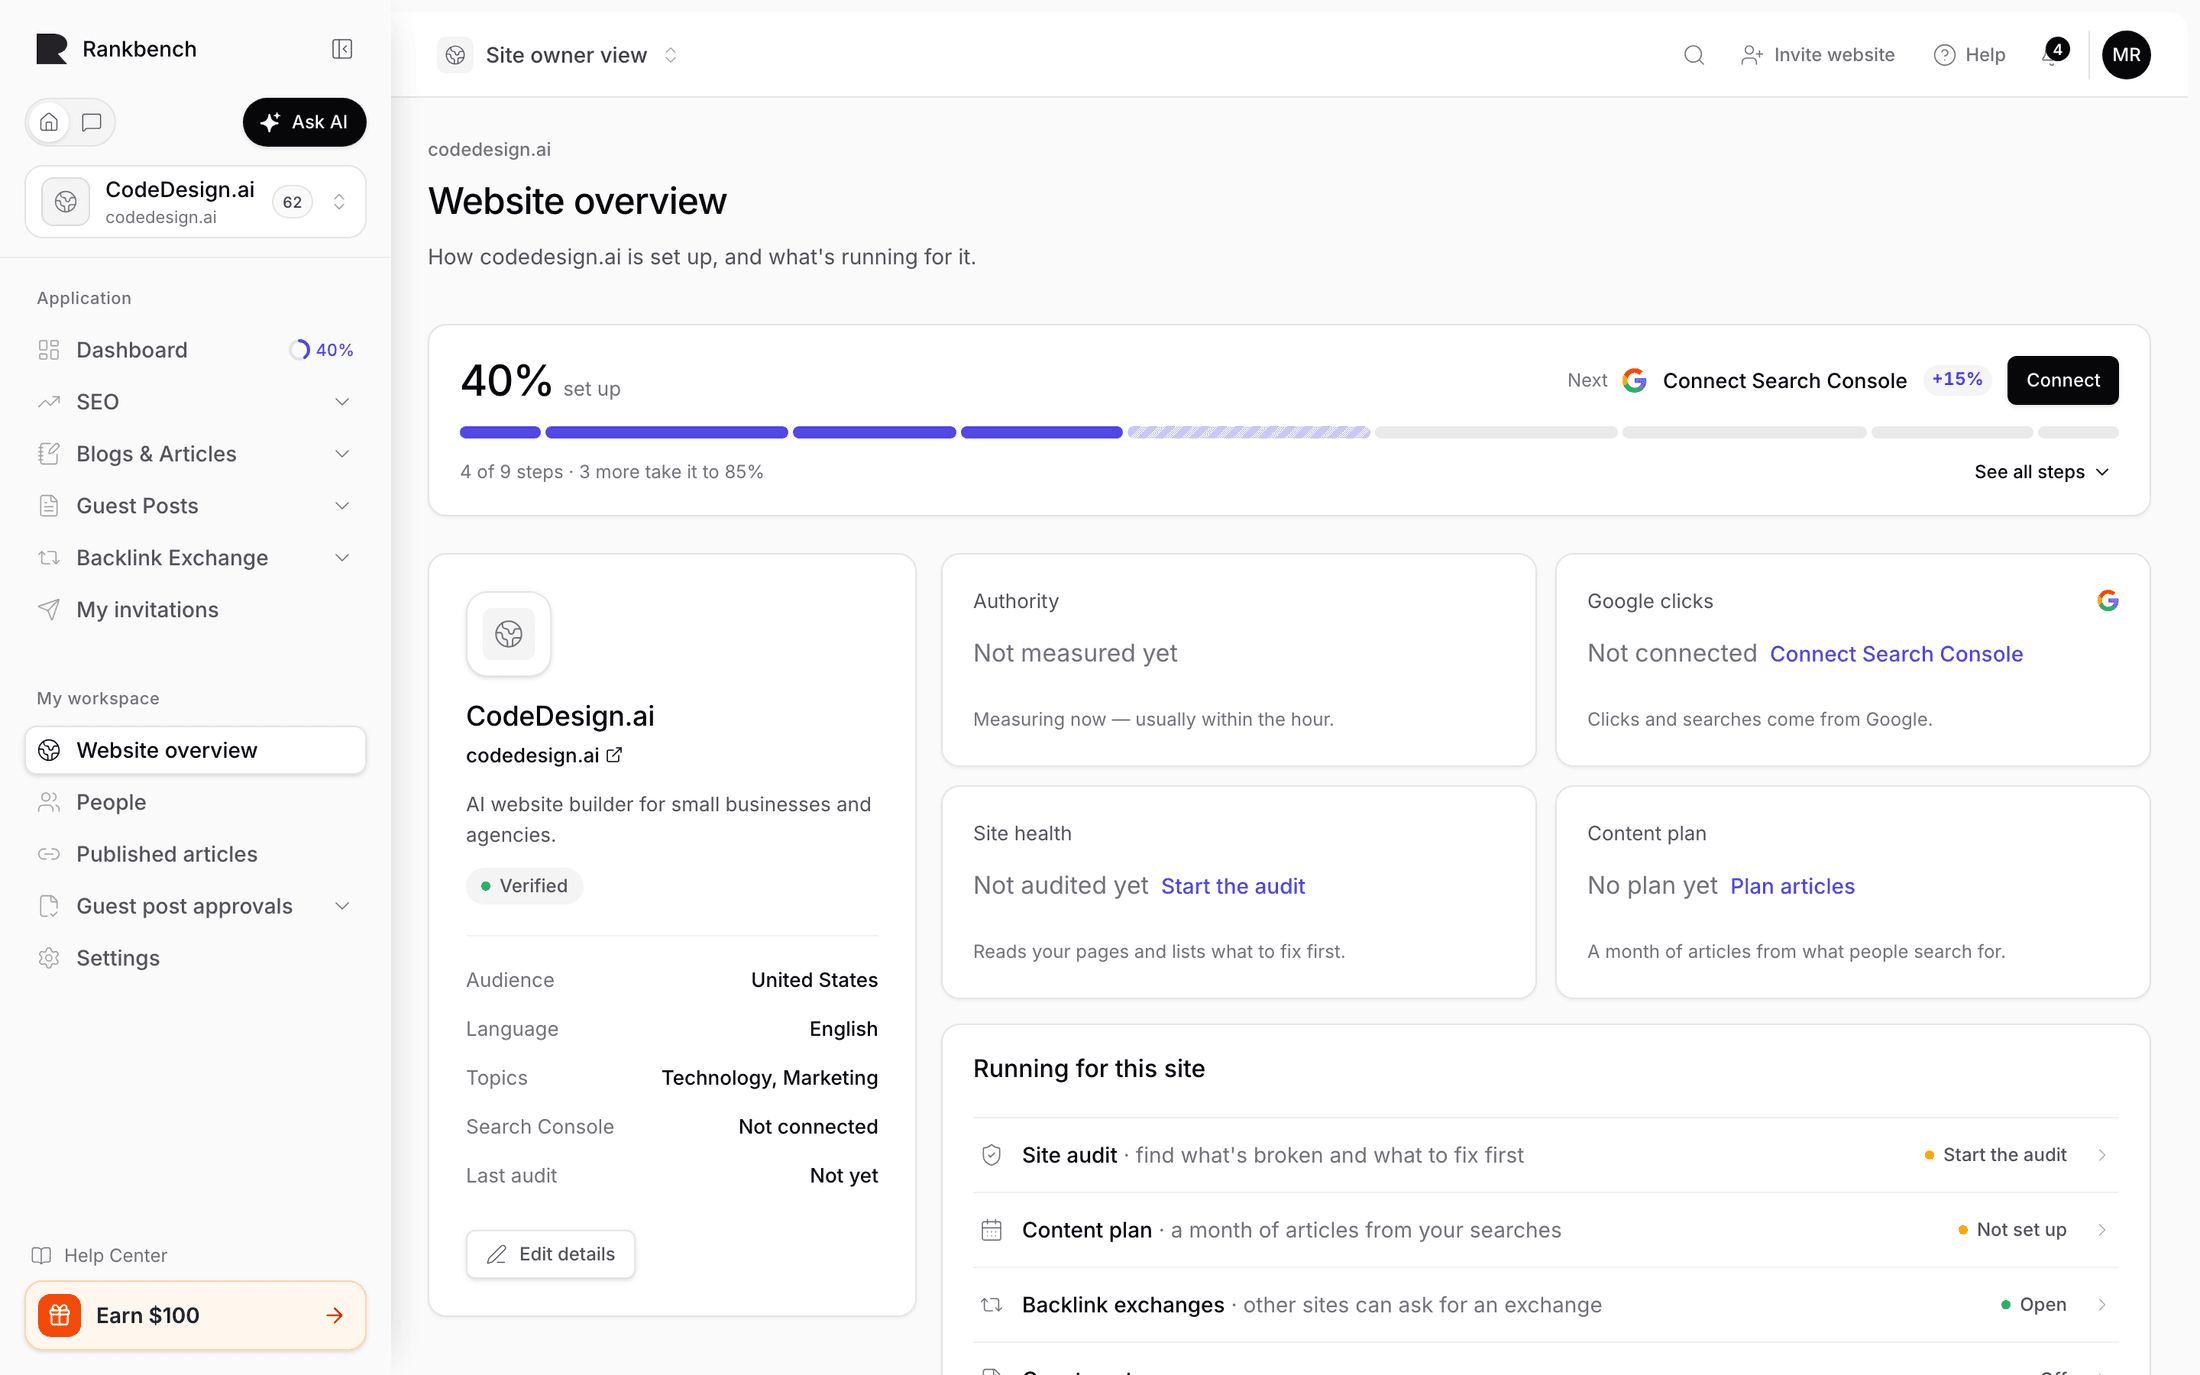
Once the site exists, Website overview in the sidebar opens on it. The page is headed with your domain and the line "How redmonark.com is set up, and what's running for it." <!-- example -->
The card at the top is the part worth reading. It shows how set up the site is as a percentage, the step to do next, and a button that does it. See all steps lists all nine, from verifying the site and connecting Search Console to running the first audit, planning a month of articles and opening the site to guest posts and backlink exchanges. The same percentage sits beside Dashboard in the sidebar, and both go once the site reaches 100%.
Below it, Running for this site says where each part stands: the audit, the content plan, backlink exchanges, guest posts and the rest. Before the site is verified, the parts that wait for it read After verification. Your website and its settings walks through the whole page.
Adding more sites
Add another site is in the switcher under the logo. The new site gets a workspace of its own, and you are taken there.
If you publish on Medium, Substack or a client's blog rather than a site you control, that is not a website here. It is a page you can share, and pages you published elsewhere is the article for it.
Where to go next
Verify the site in proving your site is yours, then run your first audit with running the site audit. For the whole first hour as one story, read how to add your website and get it working.
Still stuck?
Open Rankbench and the page this article describes — most screens explain themselves as you go.