
How to plan and publish a month of content
Updated · First published · 4 min read
Rankbench finds the topics, schedules them, writes each article on its day and sends it to your blog. What it can't know is what your company actually knows. This guide keeps you in the loop where it counts: about an hour to set up, then twenty minutes a week.
Note
Before you start: your site must have been audited at least once. Search Console is optional. With it, the plan comes from searches your site already appears for, with measured demand behind each one.
Step 1: Correct the brief
A new calendar shows a setup panel instead of a grid. The one stage waiting on you is the brief, which Rankbench drafts by reading your site.
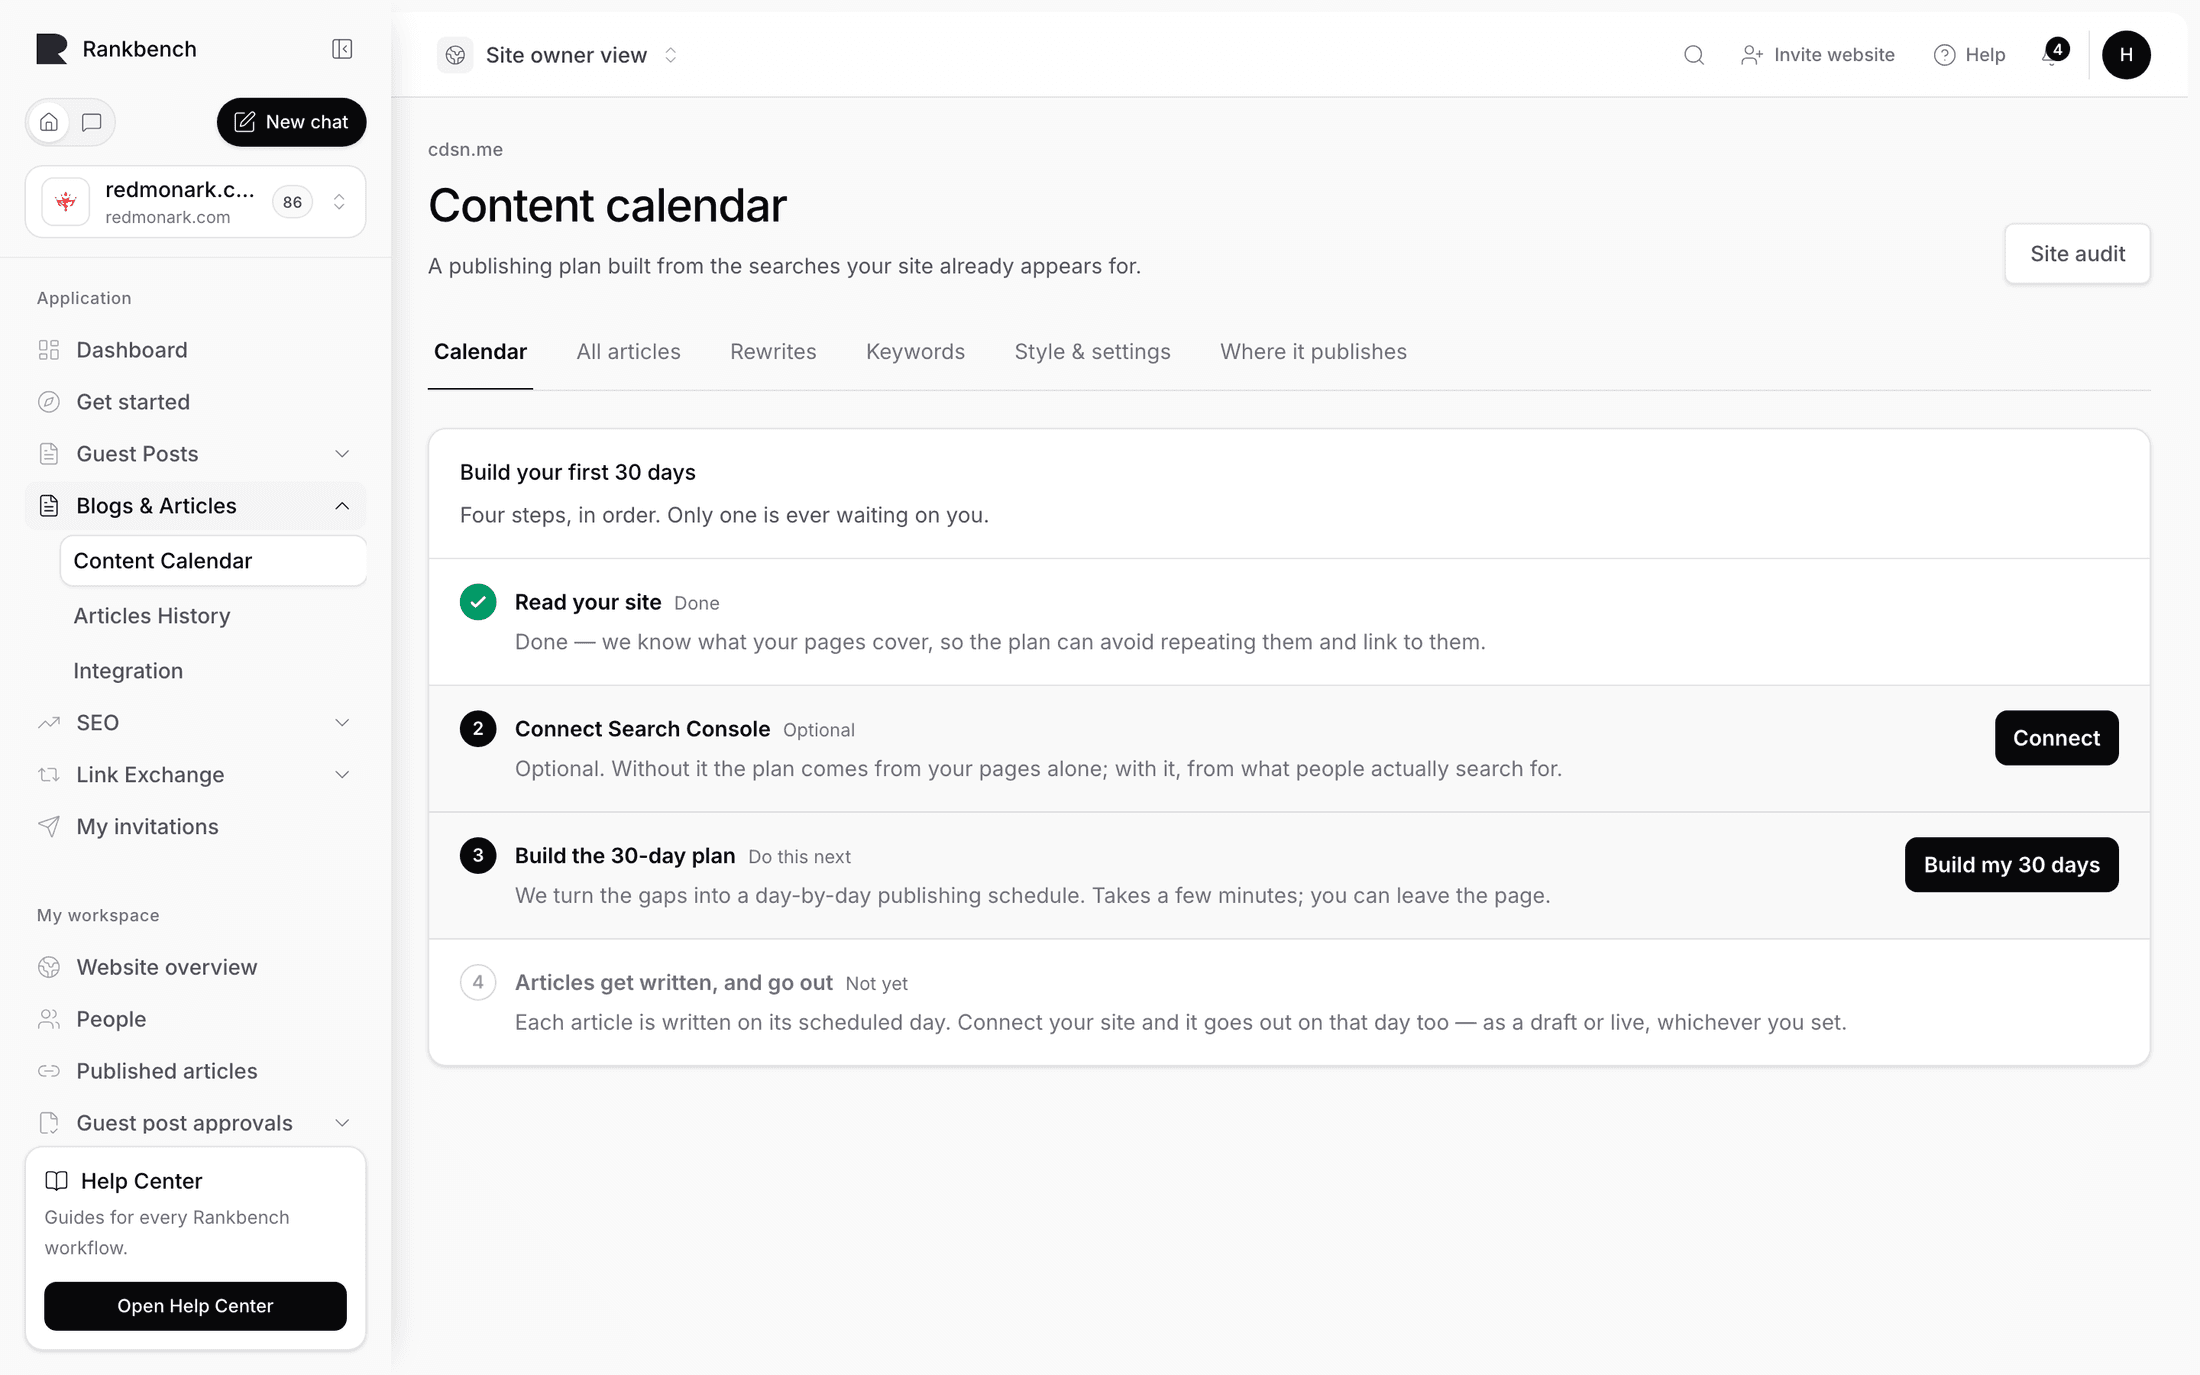
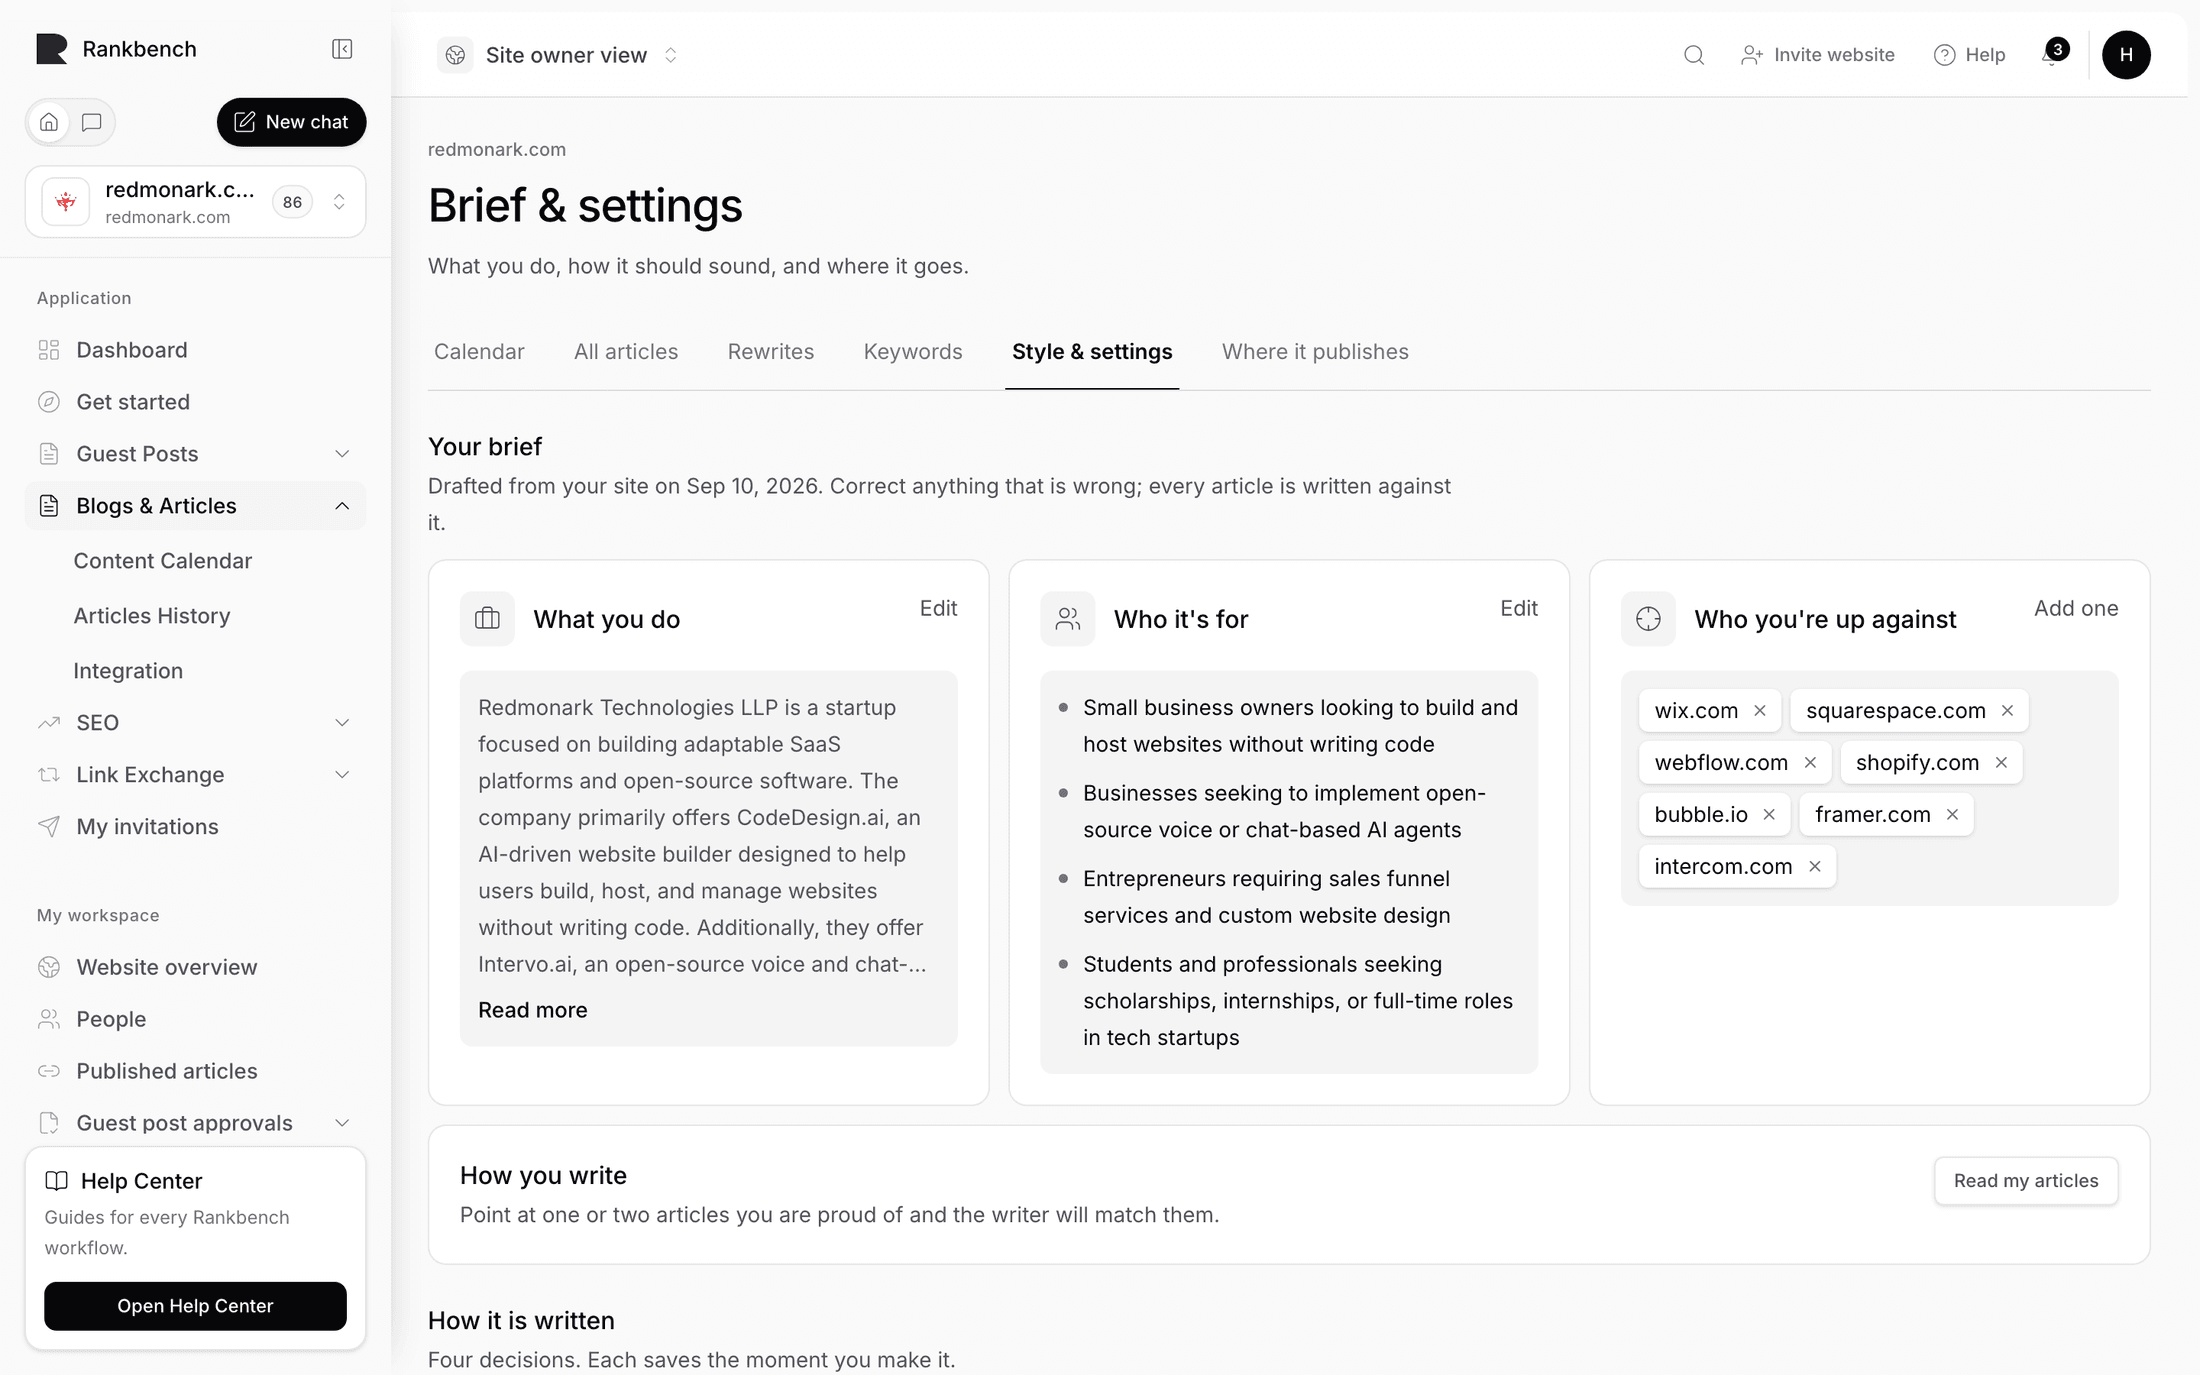
- Read What you do. If it describes the wrong business, every article will be wrong in the same way.
- Check Who it's for. The wrong reader means articles pitched at the wrong level.
- Add real competitor domains to Who you're up against. The calendar mines what they rank for.
- Confirm the brief. The build takes a few minutes.
Step 2: Audit the plan before anything is written
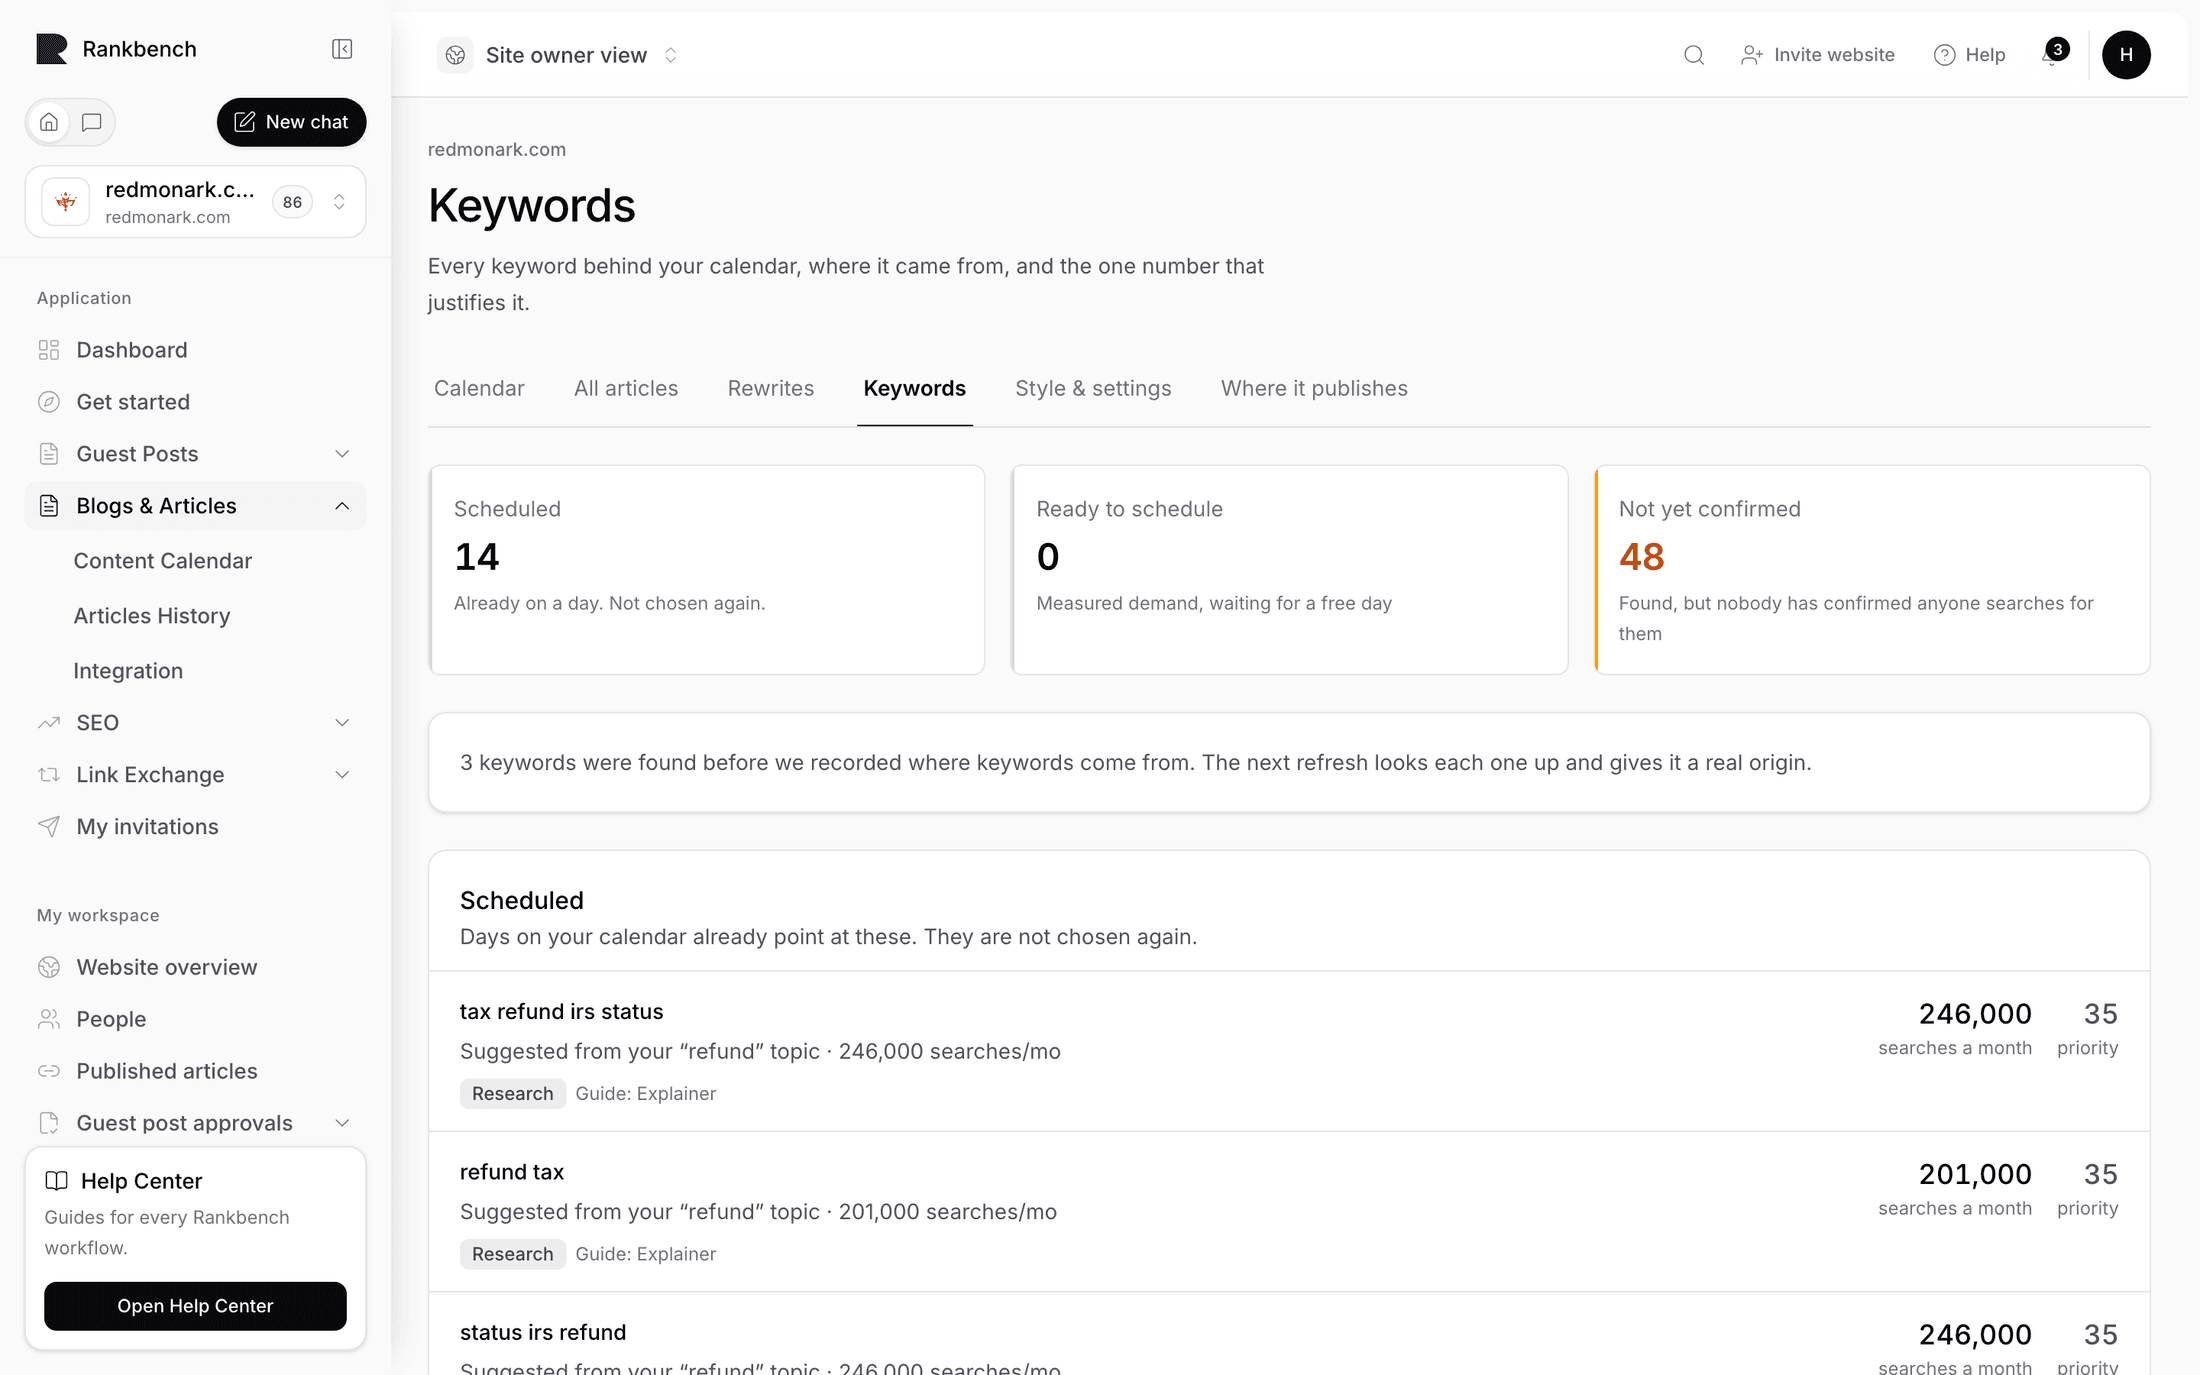
Open Keywords. Three bands: Scheduled is what the grid is about to write, Ready to schedule is queued with measured demand, and Not yet confirmed stays out of the calendar until someone confirms people search for it.
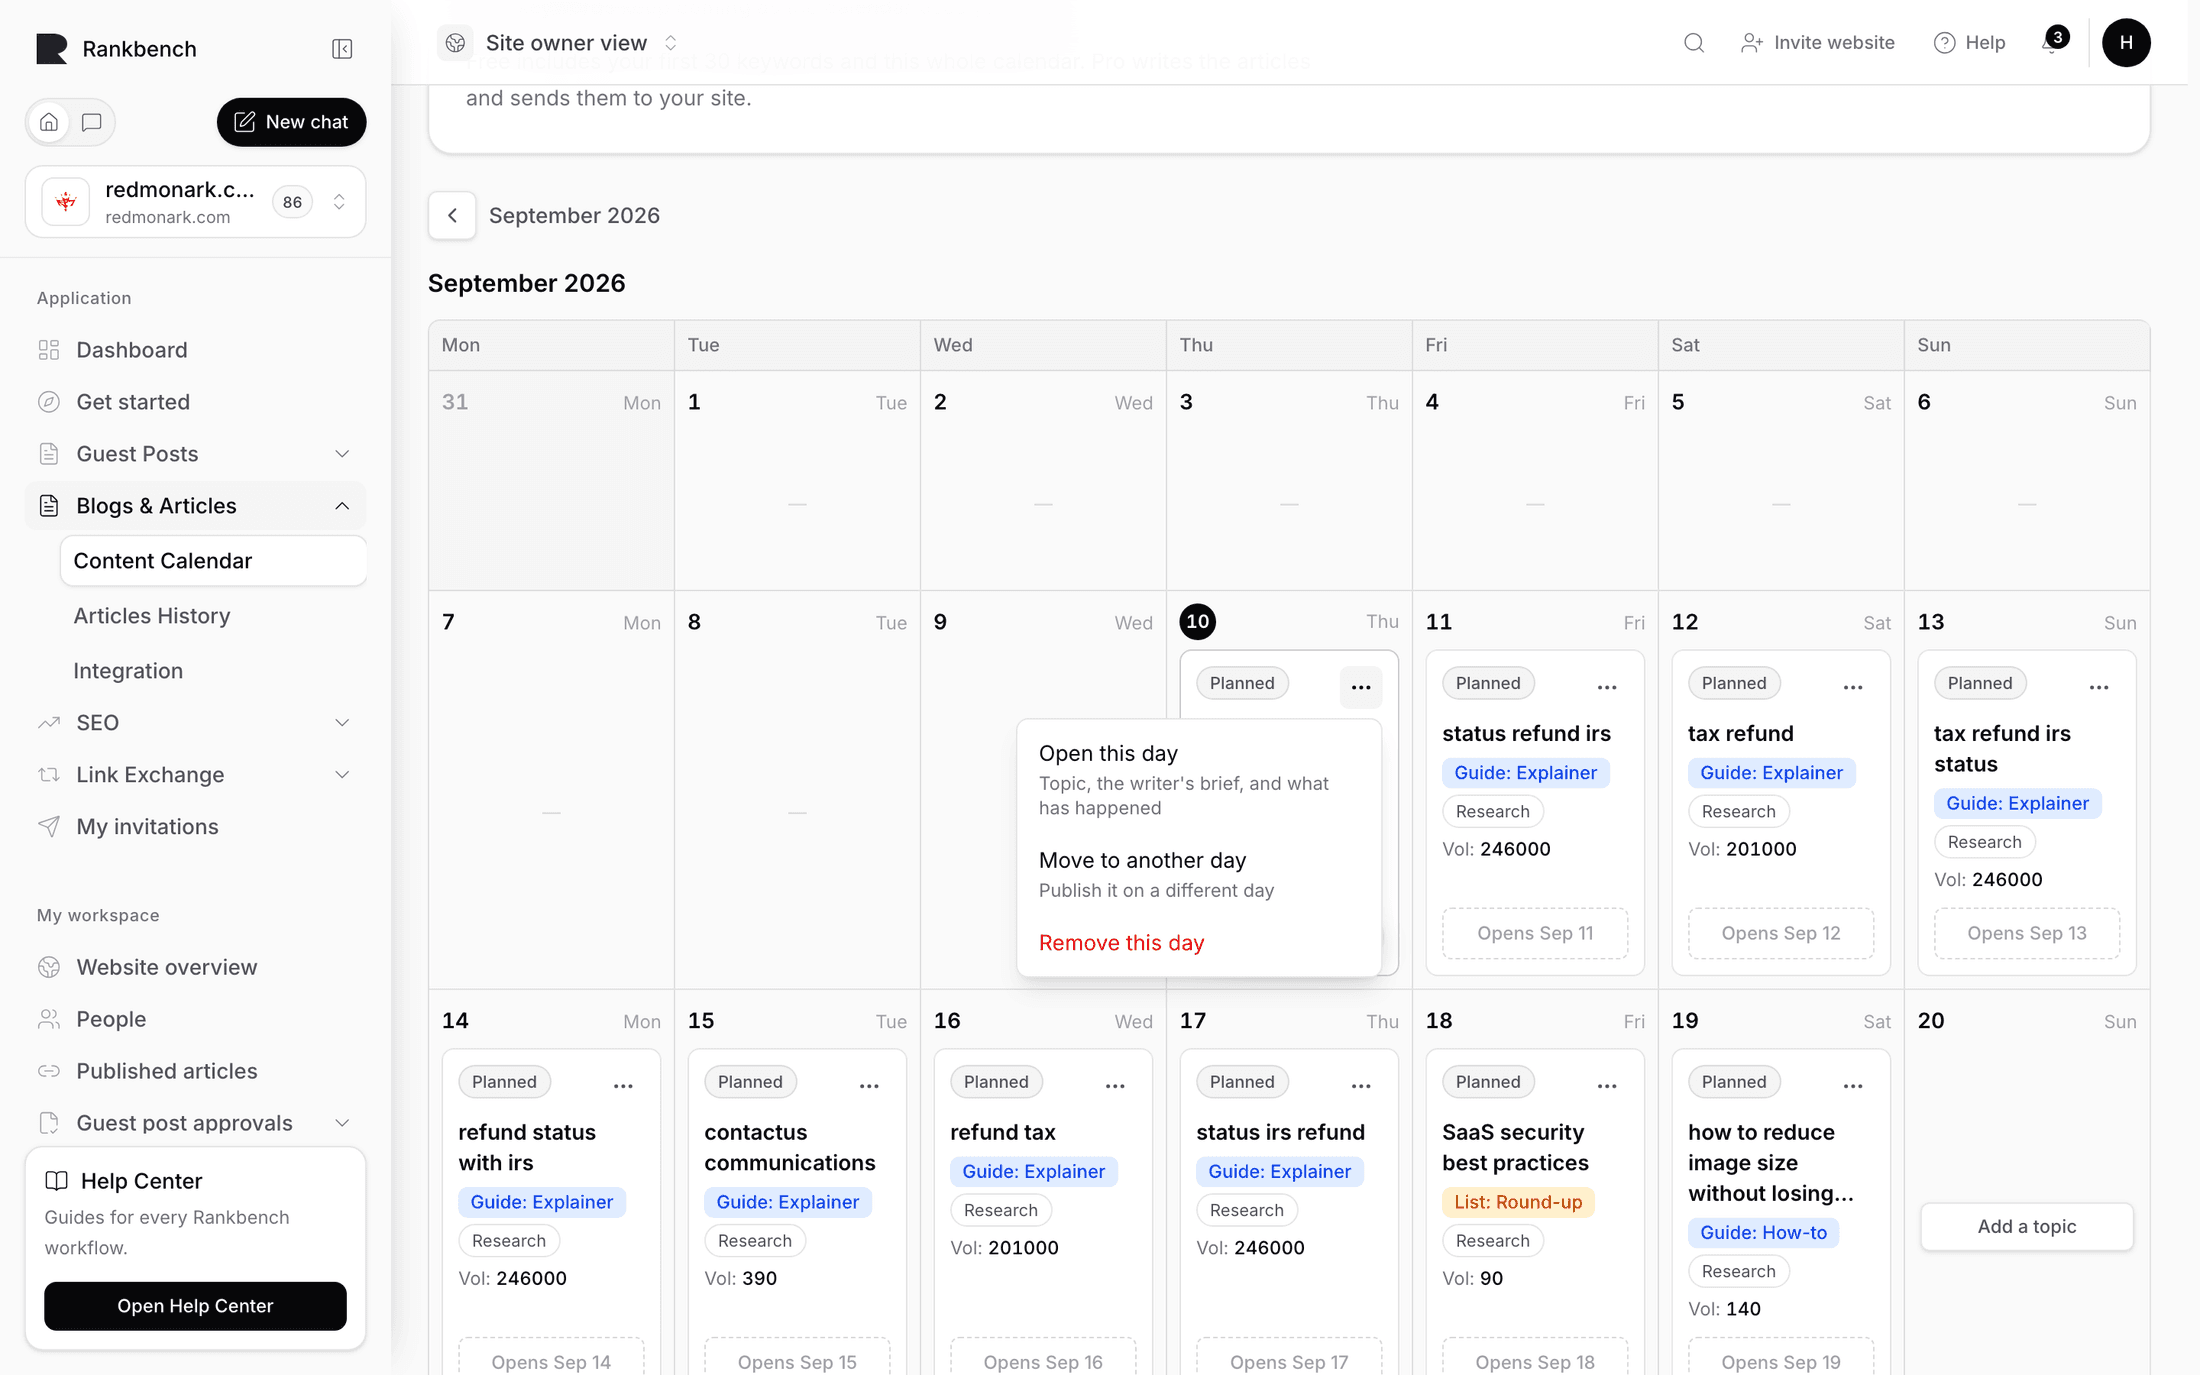
Then go back to the grid and remove what you wouldn't publish. Open the day menu and choose Remove this day. The keyword returns to the pool.
Tip
If a lot is wrong, don't fix it day by day. Press Refresh topics, correct the brief there, and let it re-plan the days nobody has written yet. Drafts and published posts stay.
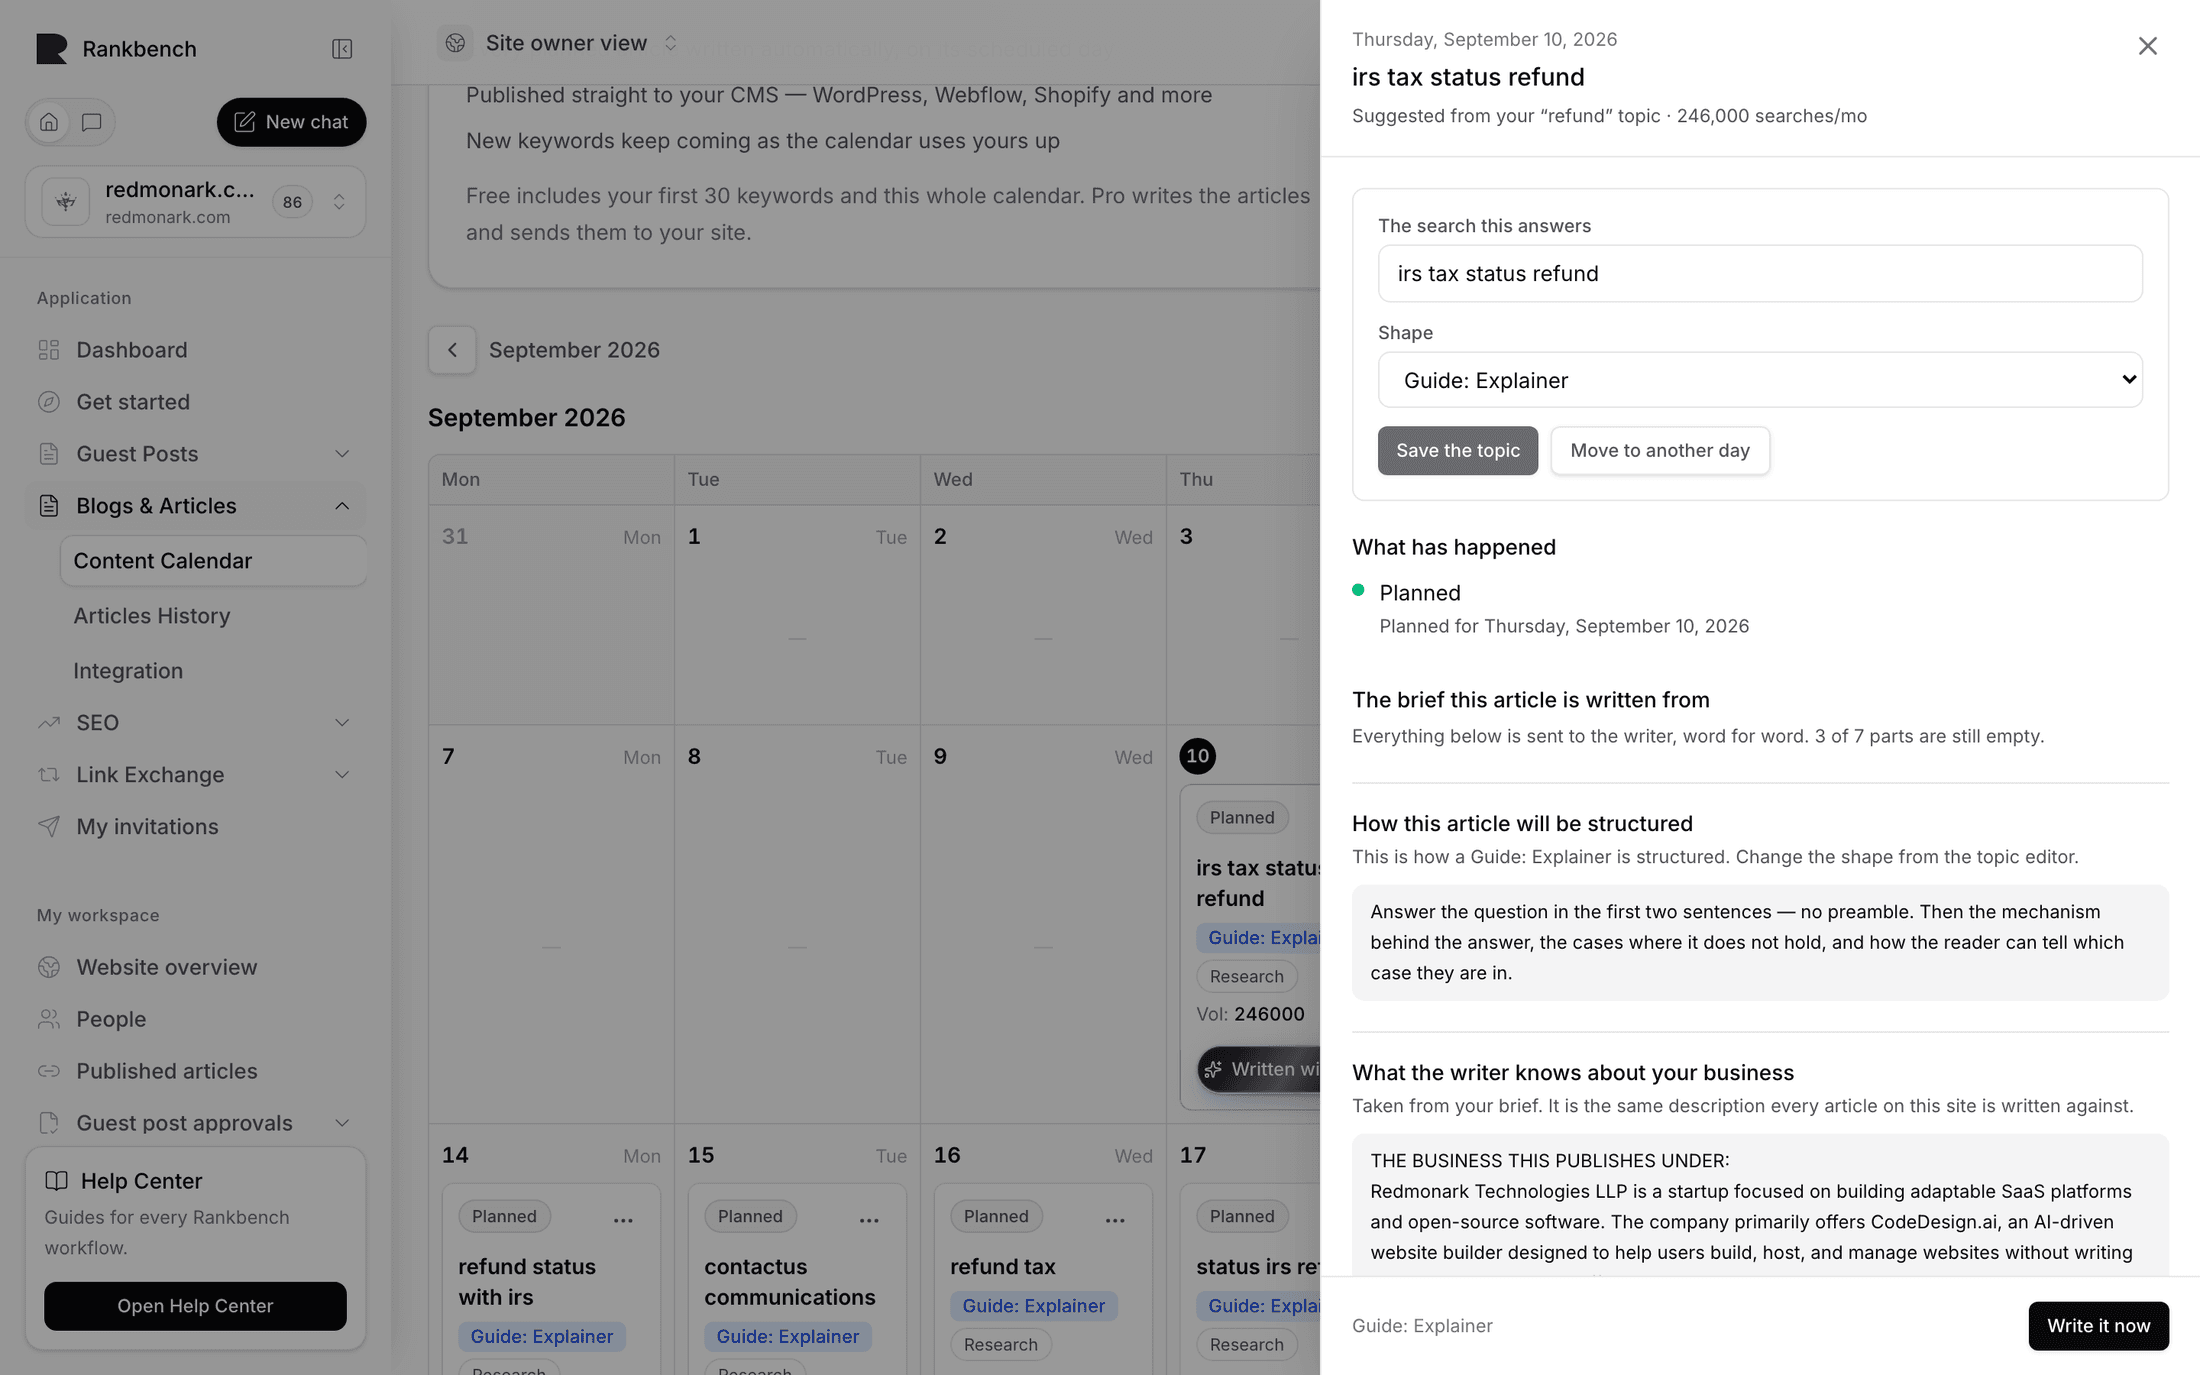
Step 3: Steer the two days you care about most
- Open the day with Open this day.
- Under Ask me about this one, answer the questions you have something real to say about.
- Use What you asked for on this one for the shape: what to lead with, what to leave out.
Step 4: Write and edit the first article
Writing needs Pro.
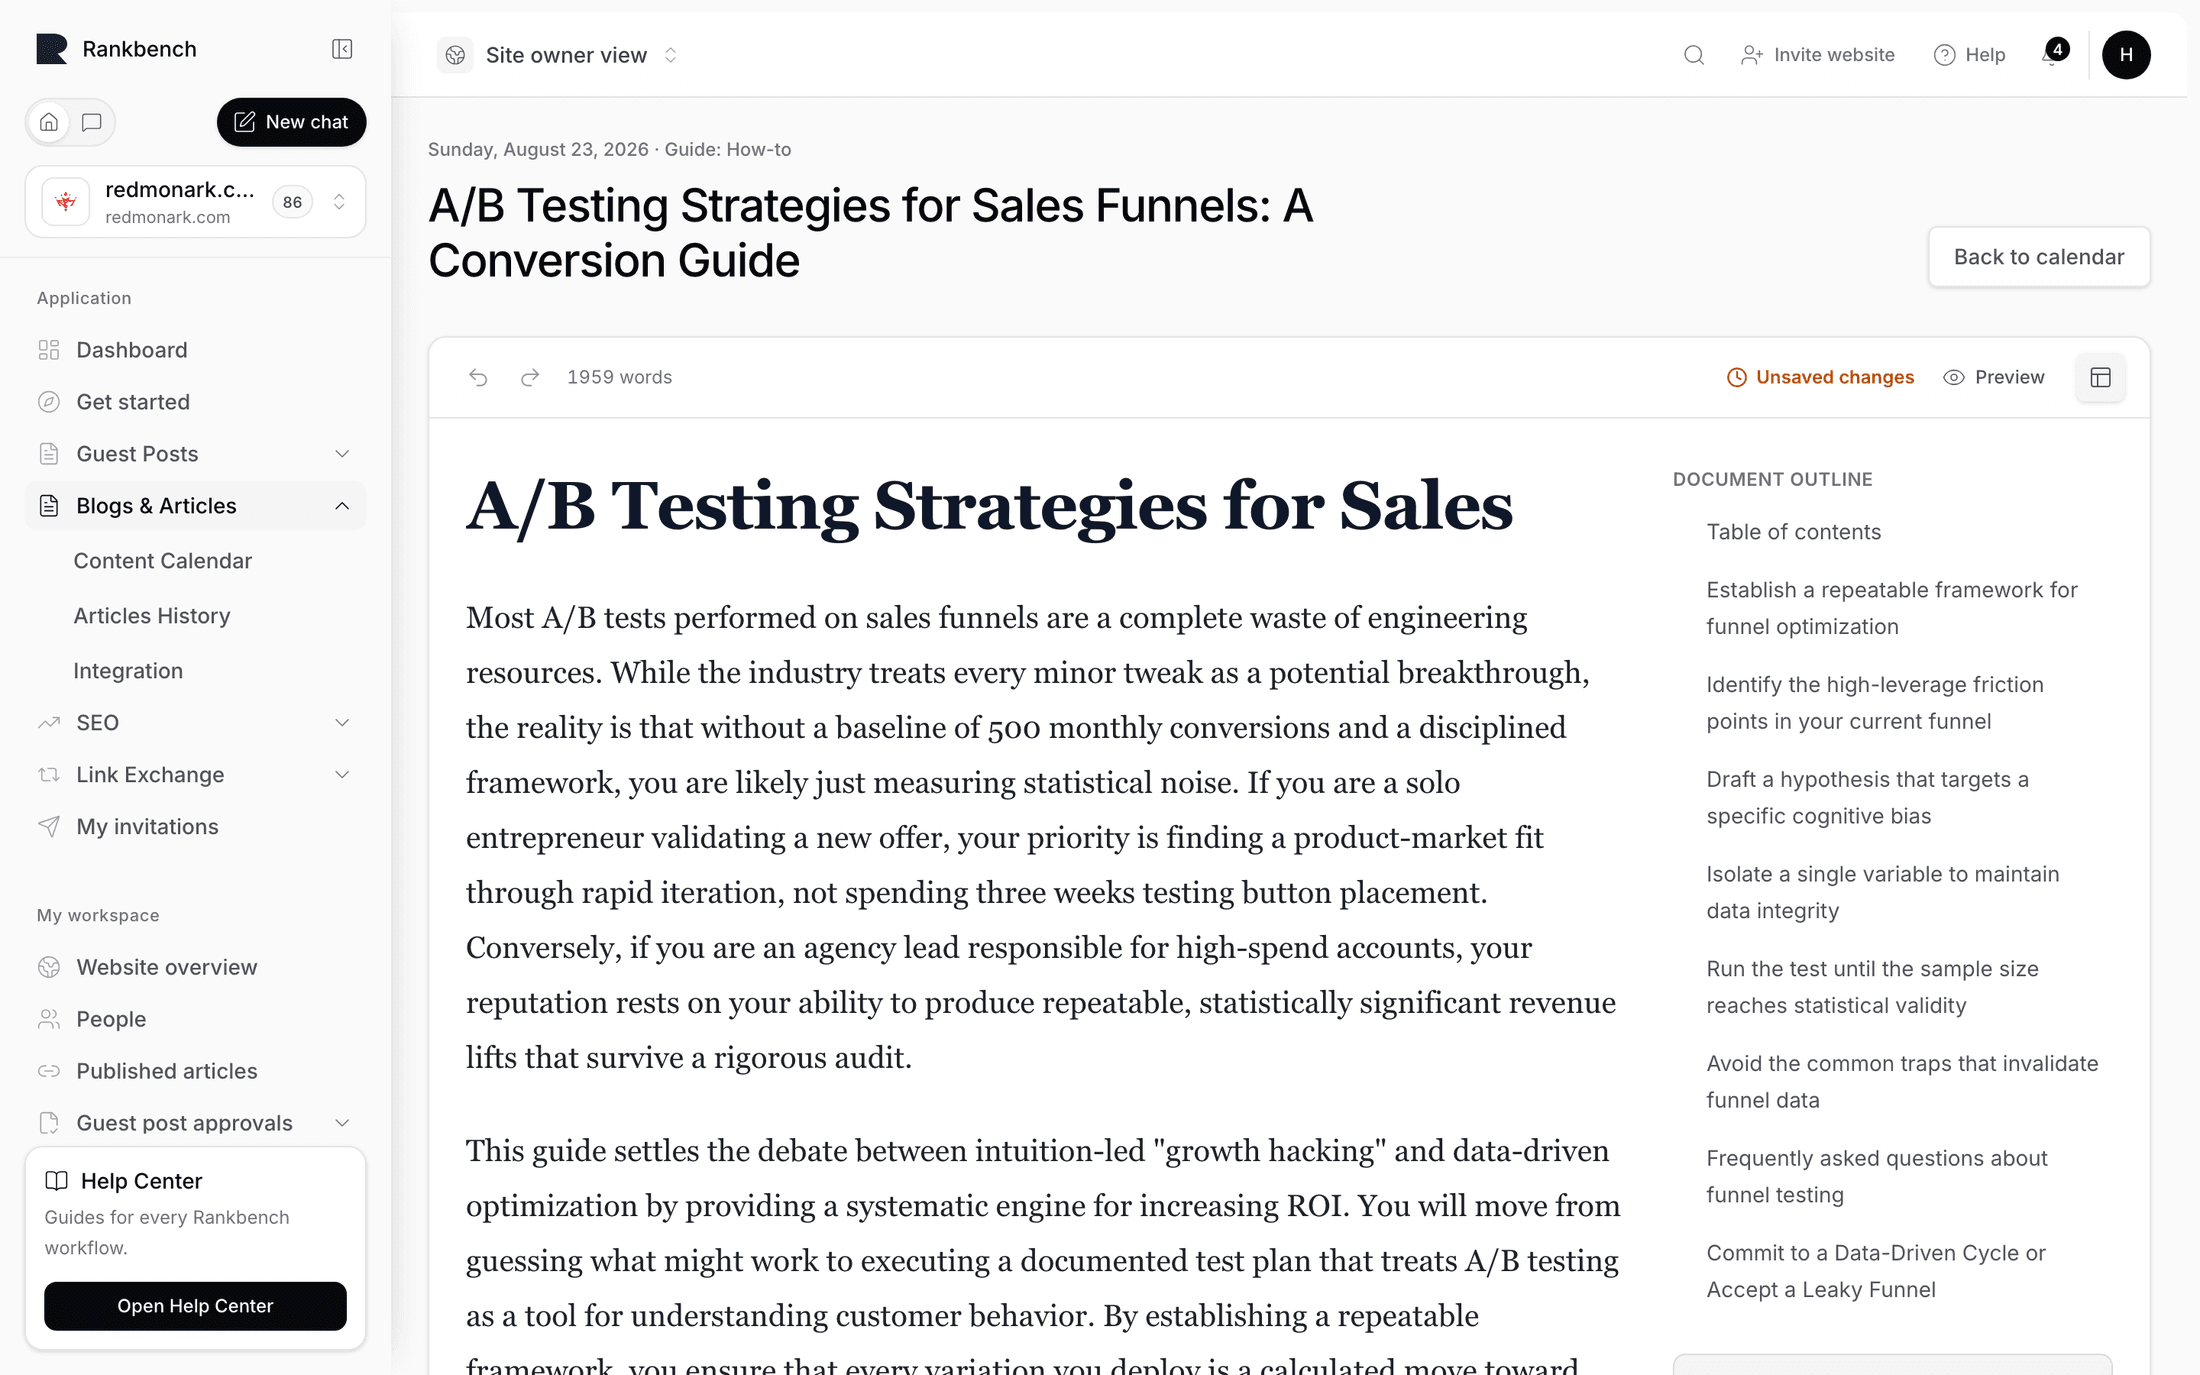
- Press Write it now on today's article. It takes about a minute.
- Read it with the evidence panel open. Thin evidence usually means a thin article.
- Replace any paragraph that could have been written about any company in your industry.
- If the pictures are wrong, Not the one? → Redraw the pictures replaces the cover and every picture in your current style without rewriting a word.
Step 5: Connect your blog and let it run
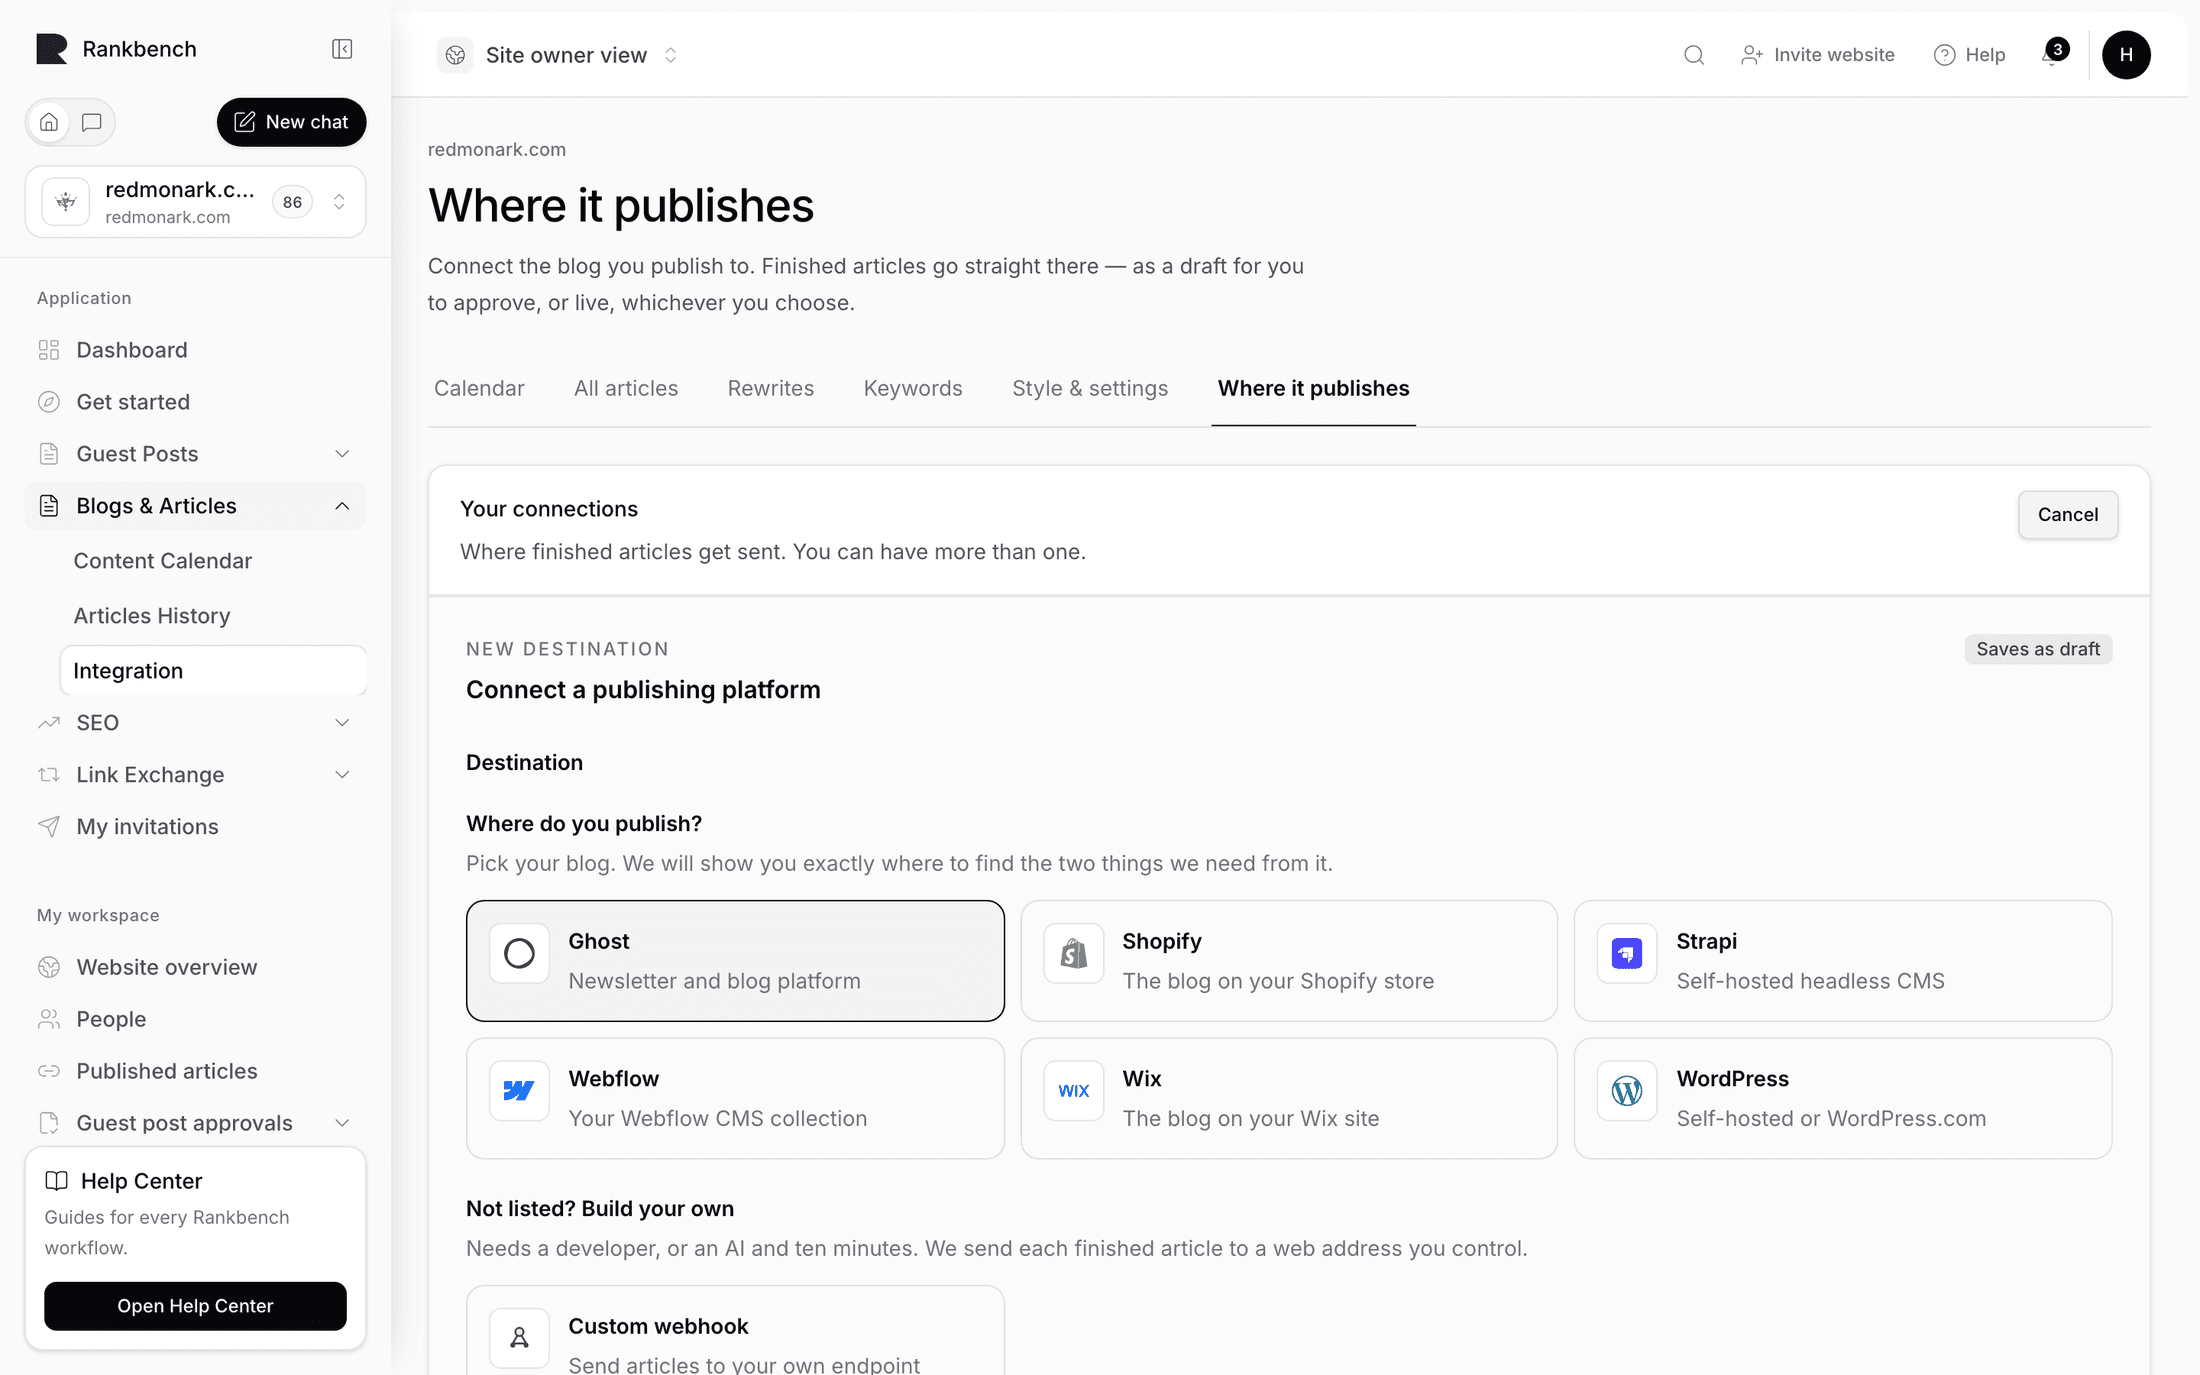
- In Where it publishes, connect WordPress, Ghost, Webflow, Wix, Shopify, Strapi or your own webhook.
- Send drafts rather than publishing live for the first month, so you keep an approval step in your CMS.
- Publish the first article by hand and check it on your site: title, description, images and links.
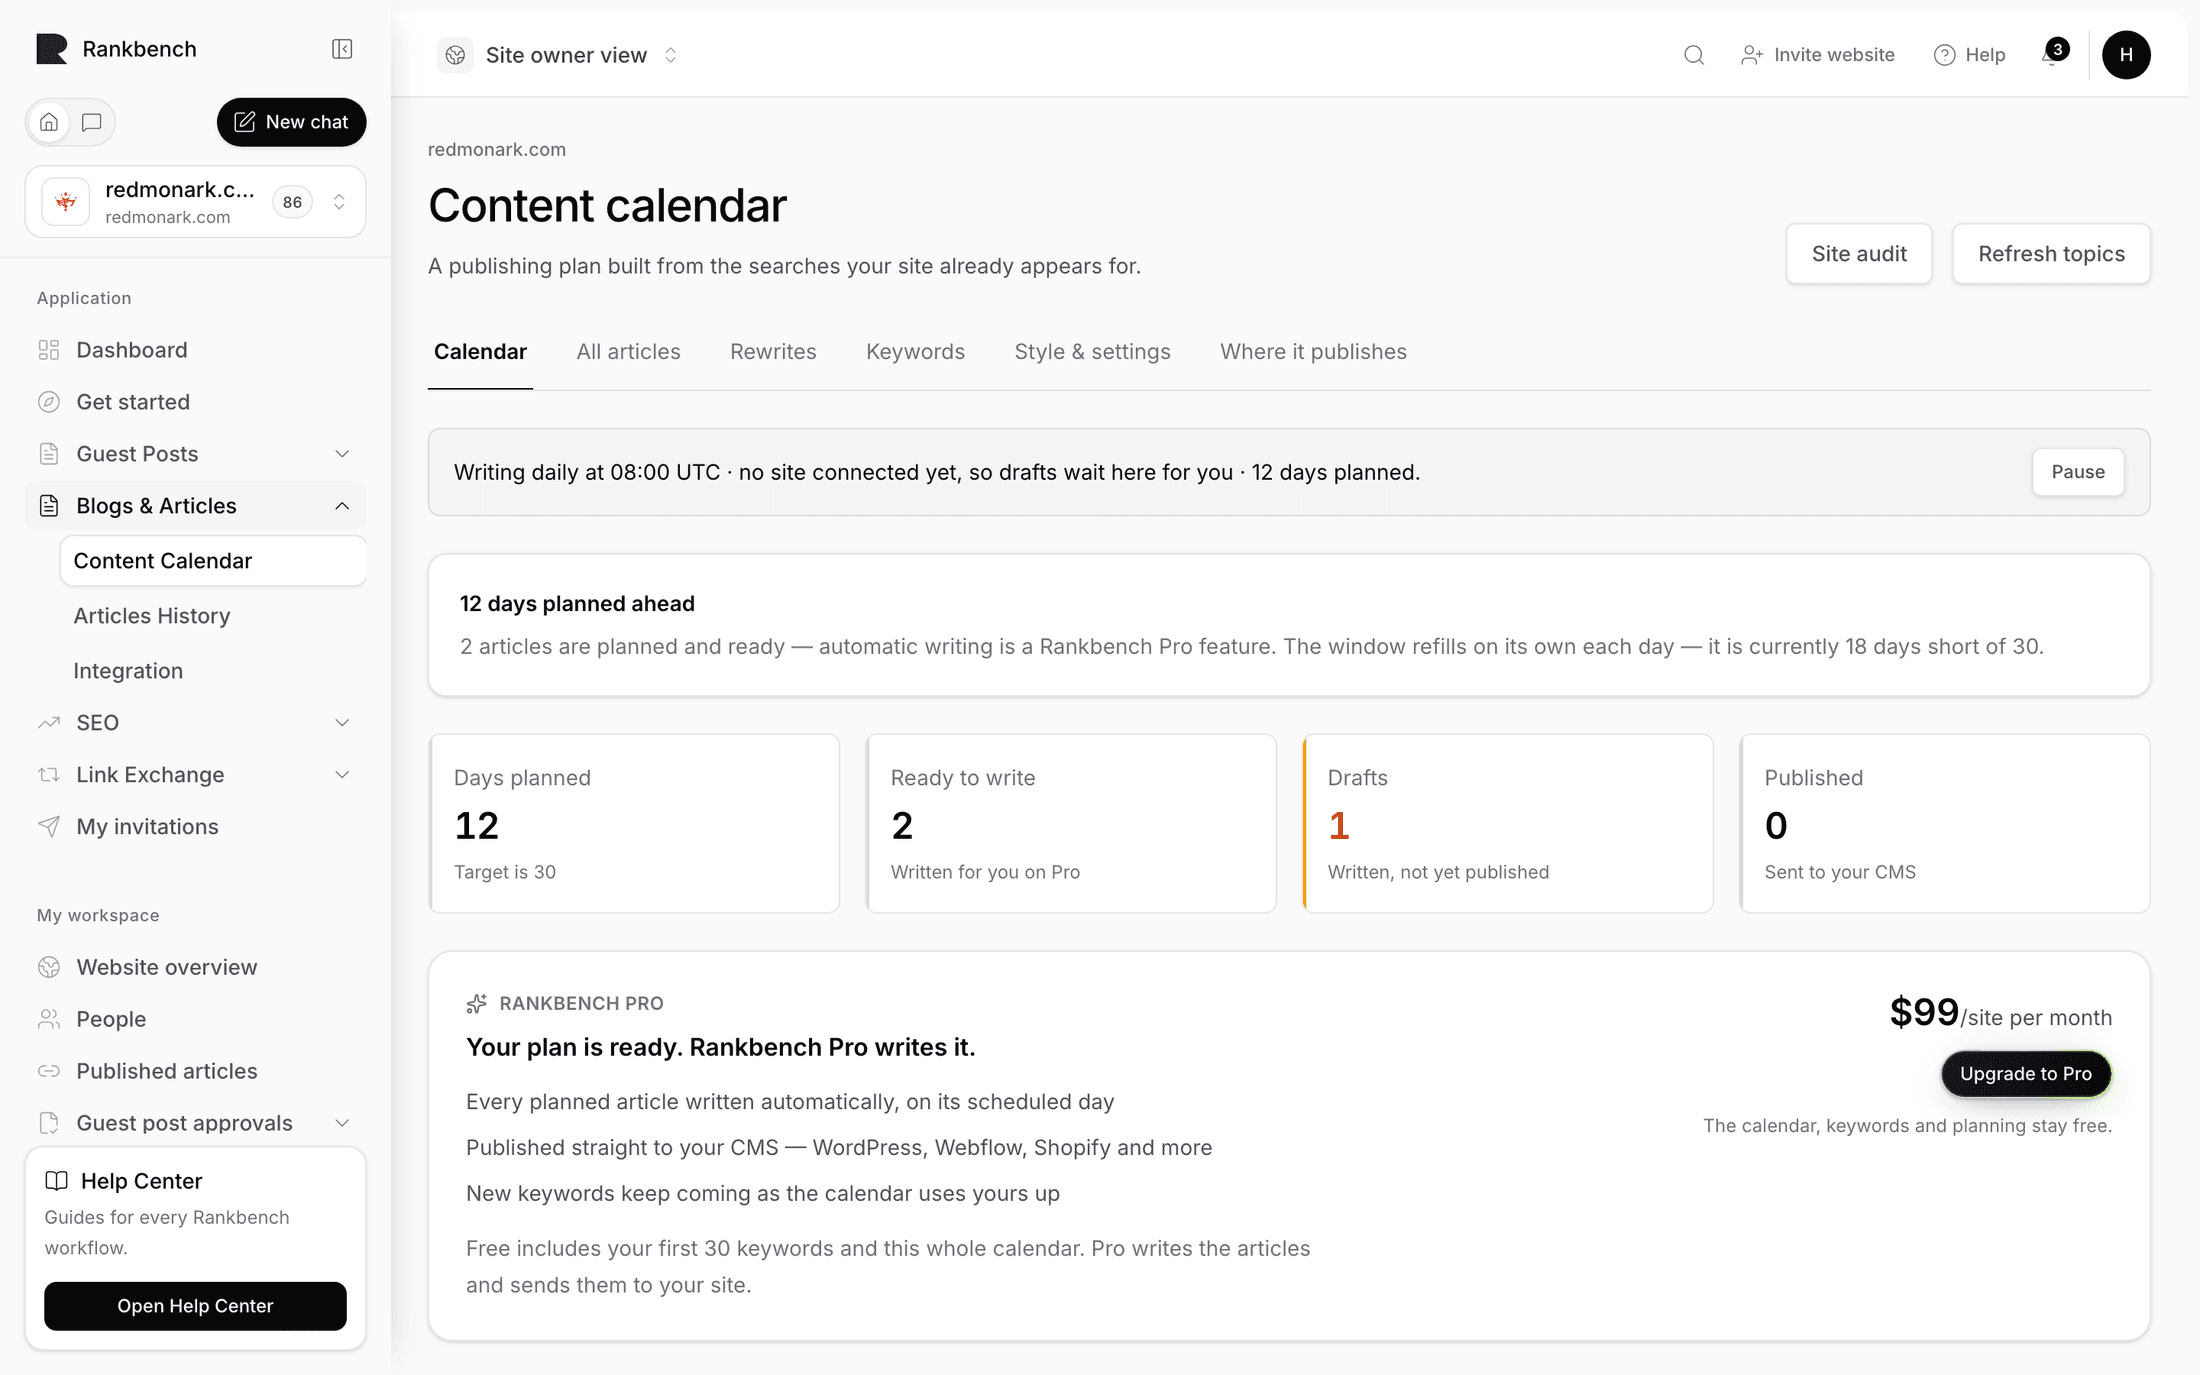
After that, an article is written on each scheduled day and sent where you've connected. The status line above the grid says what happens next, in your timezone.
Step 6: Spend twenty minutes a week
- Look ahead: steer the next two days you care about.
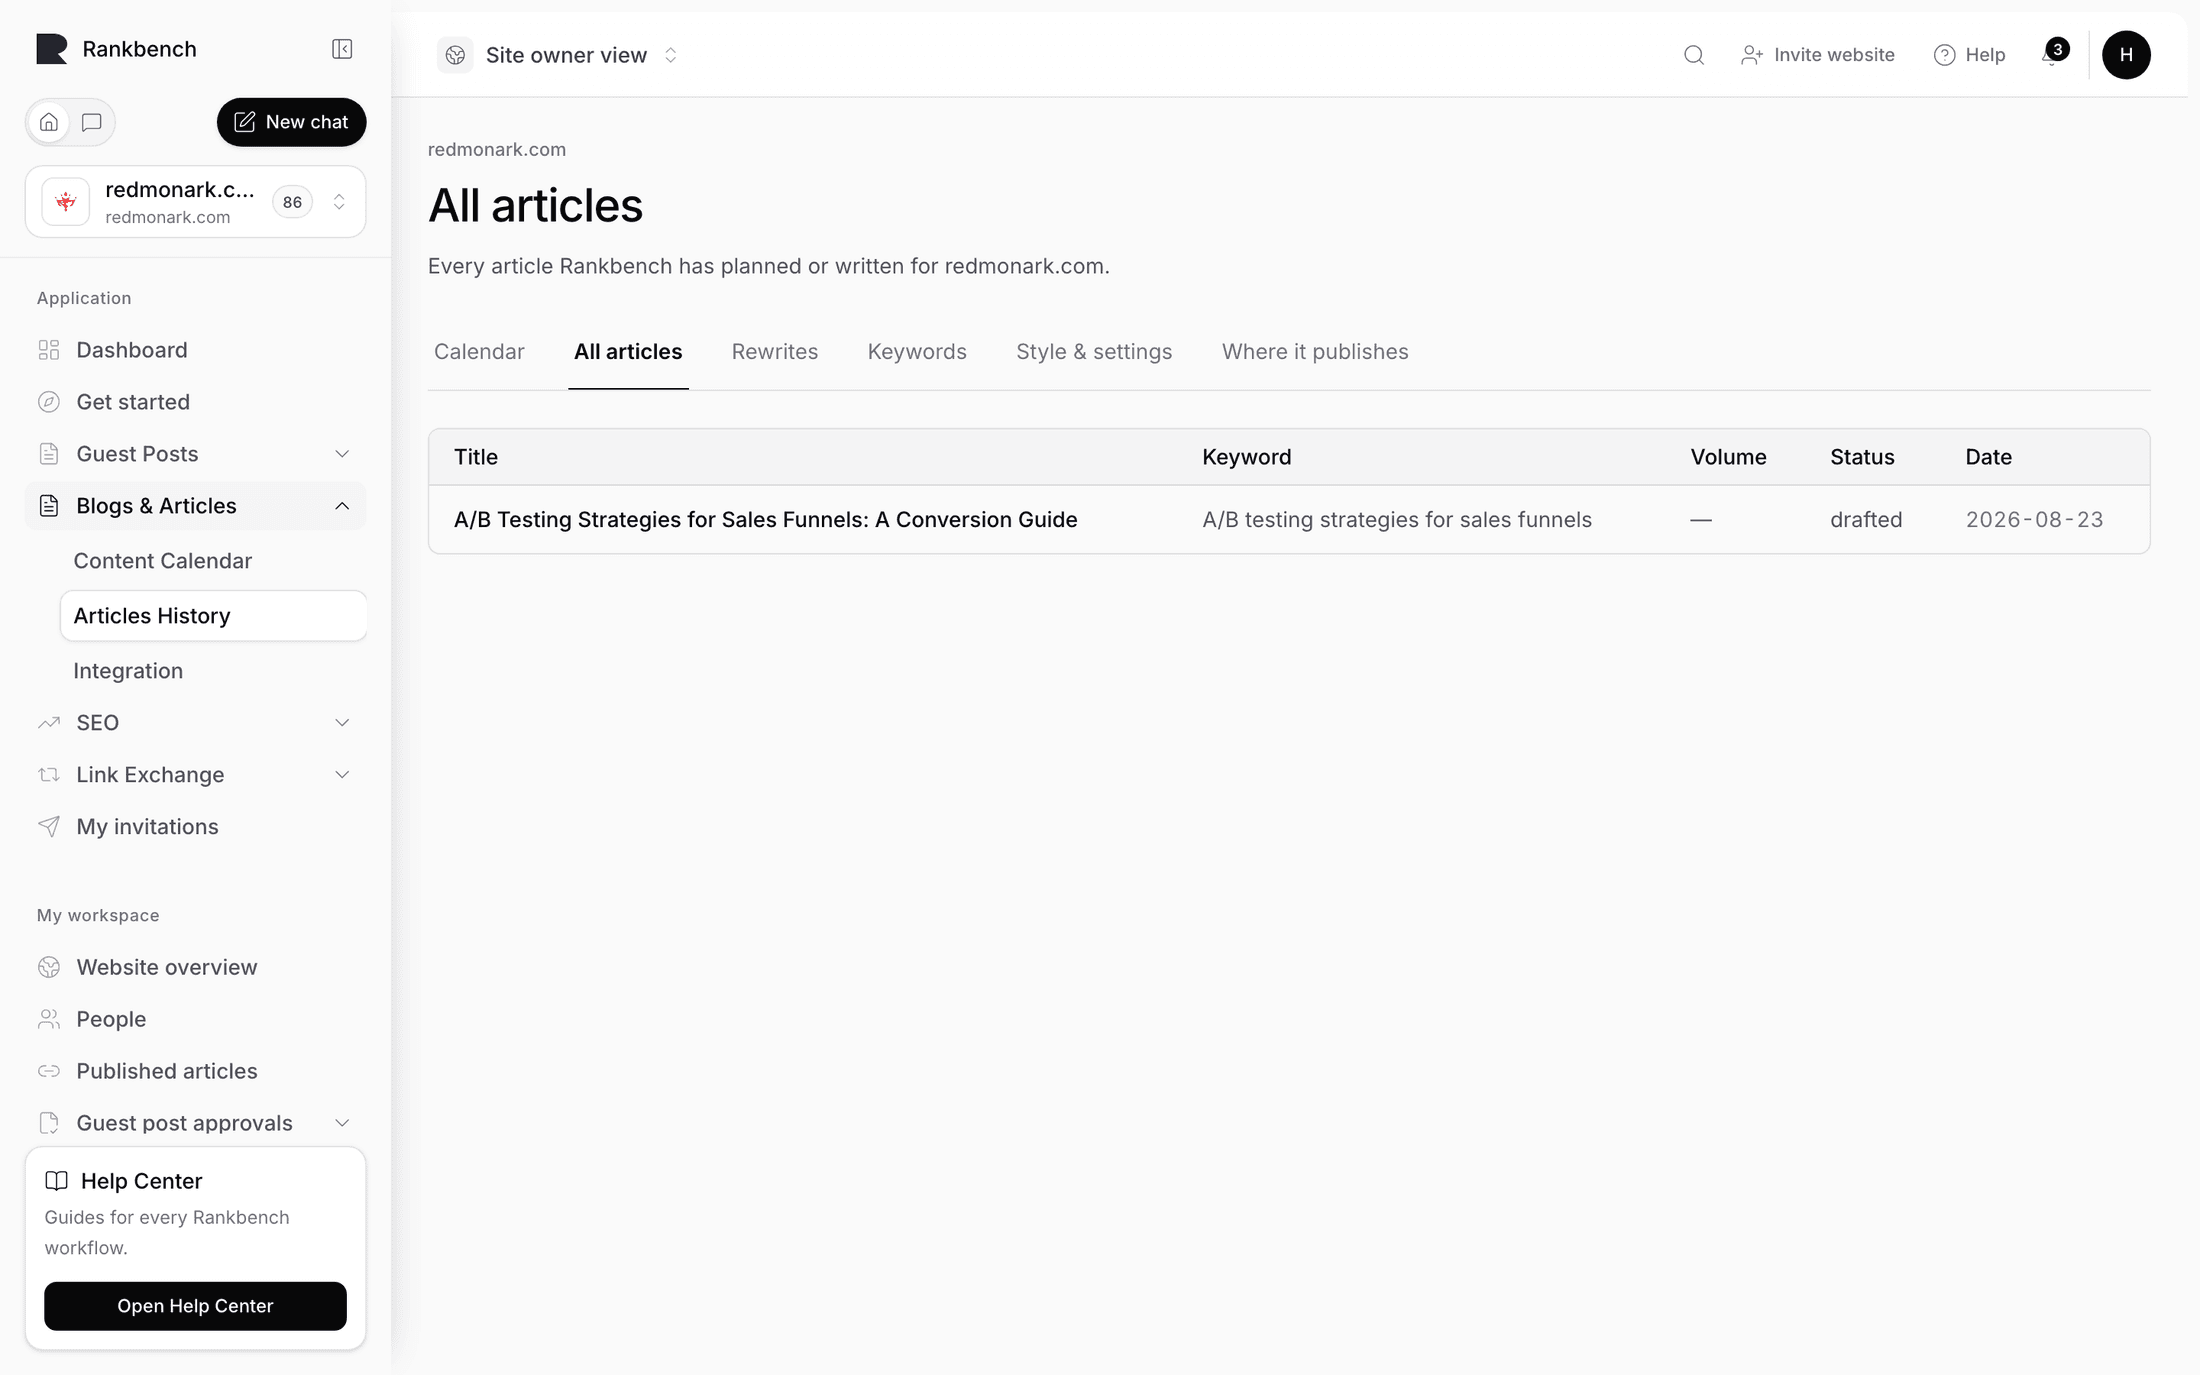
- Look behind: skim two pieces in All articles.
- Look sideways: clear what's in Rewrites, which holds published articles the audit has since flagged.
At the end of the month, set the Search tab to three months and look at Pages that gained. If the articles aren't adding anything a competitor couldn't have written, the fix is the brief and the interview answers, not more articles.
What to do next
Still stuck?
Open Rankbench and the page this article describes — most screens explain themselves as you go.