Opening Rankbank0.0s
Getting startedCreating your Rankbank accountAdding your first websiteProving your site is yoursWriter view and Site owner viewHow Rankbank tells you thingsYour dashboardRankbank Pro and billing
Site audit & search growthThe SEO overview, explainedHow Rankbank reads your siteThe site health scoreThe Problems to fix pageEvery problem type, explainedYour fix listFindings: how to read a cardEverything Rankbank looks forThe map of your siteConnecting Google Search ConsoleThe growth planSuggested linksTopics and content ideasAuthority: how much weight your site carriesThe Search traffic pagePast reads and history
Guest postsGuest posting on RankbankSubmitting your first guest postImporting from Google DocsWriting in the Rankbank editorReview & send: the last step before the editorsWhen the editors ask for changesTracking your guest postsFor site owners: opening your site to guest postsFor site owners: writing your guidelinesFor site owners: reviewing a submissionFor site owners: publishing and the live checkThe Content Library
Link exchangeLink swaps on RankbankSetting up your site for swapsPages you shareFinding a site to swap withSending a swap requestReviewing a swap request you receivedAsking a partner for a linkAnswering a link requestWhen the page is published somewhere you can't editHow Rankbank keeps watchThe partner ledger
Content calendarThe content calendarSetting up your calendarWhere the keywords come fromReading the calendarSteering an article before it's writtenReviewing and editing a draftConnecting where it publishesPublishing and what happens nextStyle & settings
TutorialsYour first site audit, from "read my site" to fixes you can ship this weekConnecting Search Console and turning its data into clicksWriting a guest post that gets accepted, the full pathRunning guest posts on your site without letting quality slipYour first link swap, start to finishKeeping your links alive, from wording changes to missing linksA month of content on autopilot, done properly
RankbankHelp center
Open Rankbank →
Getting startedCreating your Rankbank accountAdding your first websiteProving your site is yoursWriter view and Site owner viewHow Rankbank tells you thingsYour dashboardRankbank Pro and billing
Site audit & search growthThe SEO overview, explainedHow Rankbank reads your siteThe site health scoreThe Problems to fix pageEvery problem type, explainedYour fix listFindings: how to read a cardEverything Rankbank looks forThe map of your siteConnecting Google Search ConsoleThe growth planSuggested linksTopics and content ideasAuthority: how much weight your site carriesThe Search traffic pagePast reads and history
Guest postsGuest posting on RankbankSubmitting your first guest postImporting from Google DocsWriting in the Rankbank editorReview & send: the last step before the editorsWhen the editors ask for changesTracking your guest postsFor site owners: opening your site to guest postsFor site owners: writing your guidelinesFor site owners: reviewing a submissionFor site owners: publishing and the live checkThe Content Library
Link exchangeLink swaps on RankbankSetting up your site for swapsPages you shareFinding a site to swap withSending a swap requestReviewing a swap request you receivedAsking a partner for a linkAnswering a link requestWhen the page is published somewhere you can't editHow Rankbank keeps watchThe partner ledger
Content calendarThe content calendarSetting up your calendarWhere the keywords come fromReading the calendarSteering an article before it's writtenReviewing and editing a draftConnecting where it publishesPublishing and what happens nextStyle & settings
TutorialsYour first site audit, from "read my site" to fixes you can ship this weekConnecting Search Console and turning its data into clicksWriting a guest post that gets accepted, the full pathRunning guest posts on your site without letting quality slipYour first link swap, start to finishKeeping your links alive, from wording changes to missing linksA month of content on autopilot, done properly
  1. Help center
  2. /
  3. Content calendar
  4. /
  5. Style & settings

Style & settings

Updated August 24, 2026


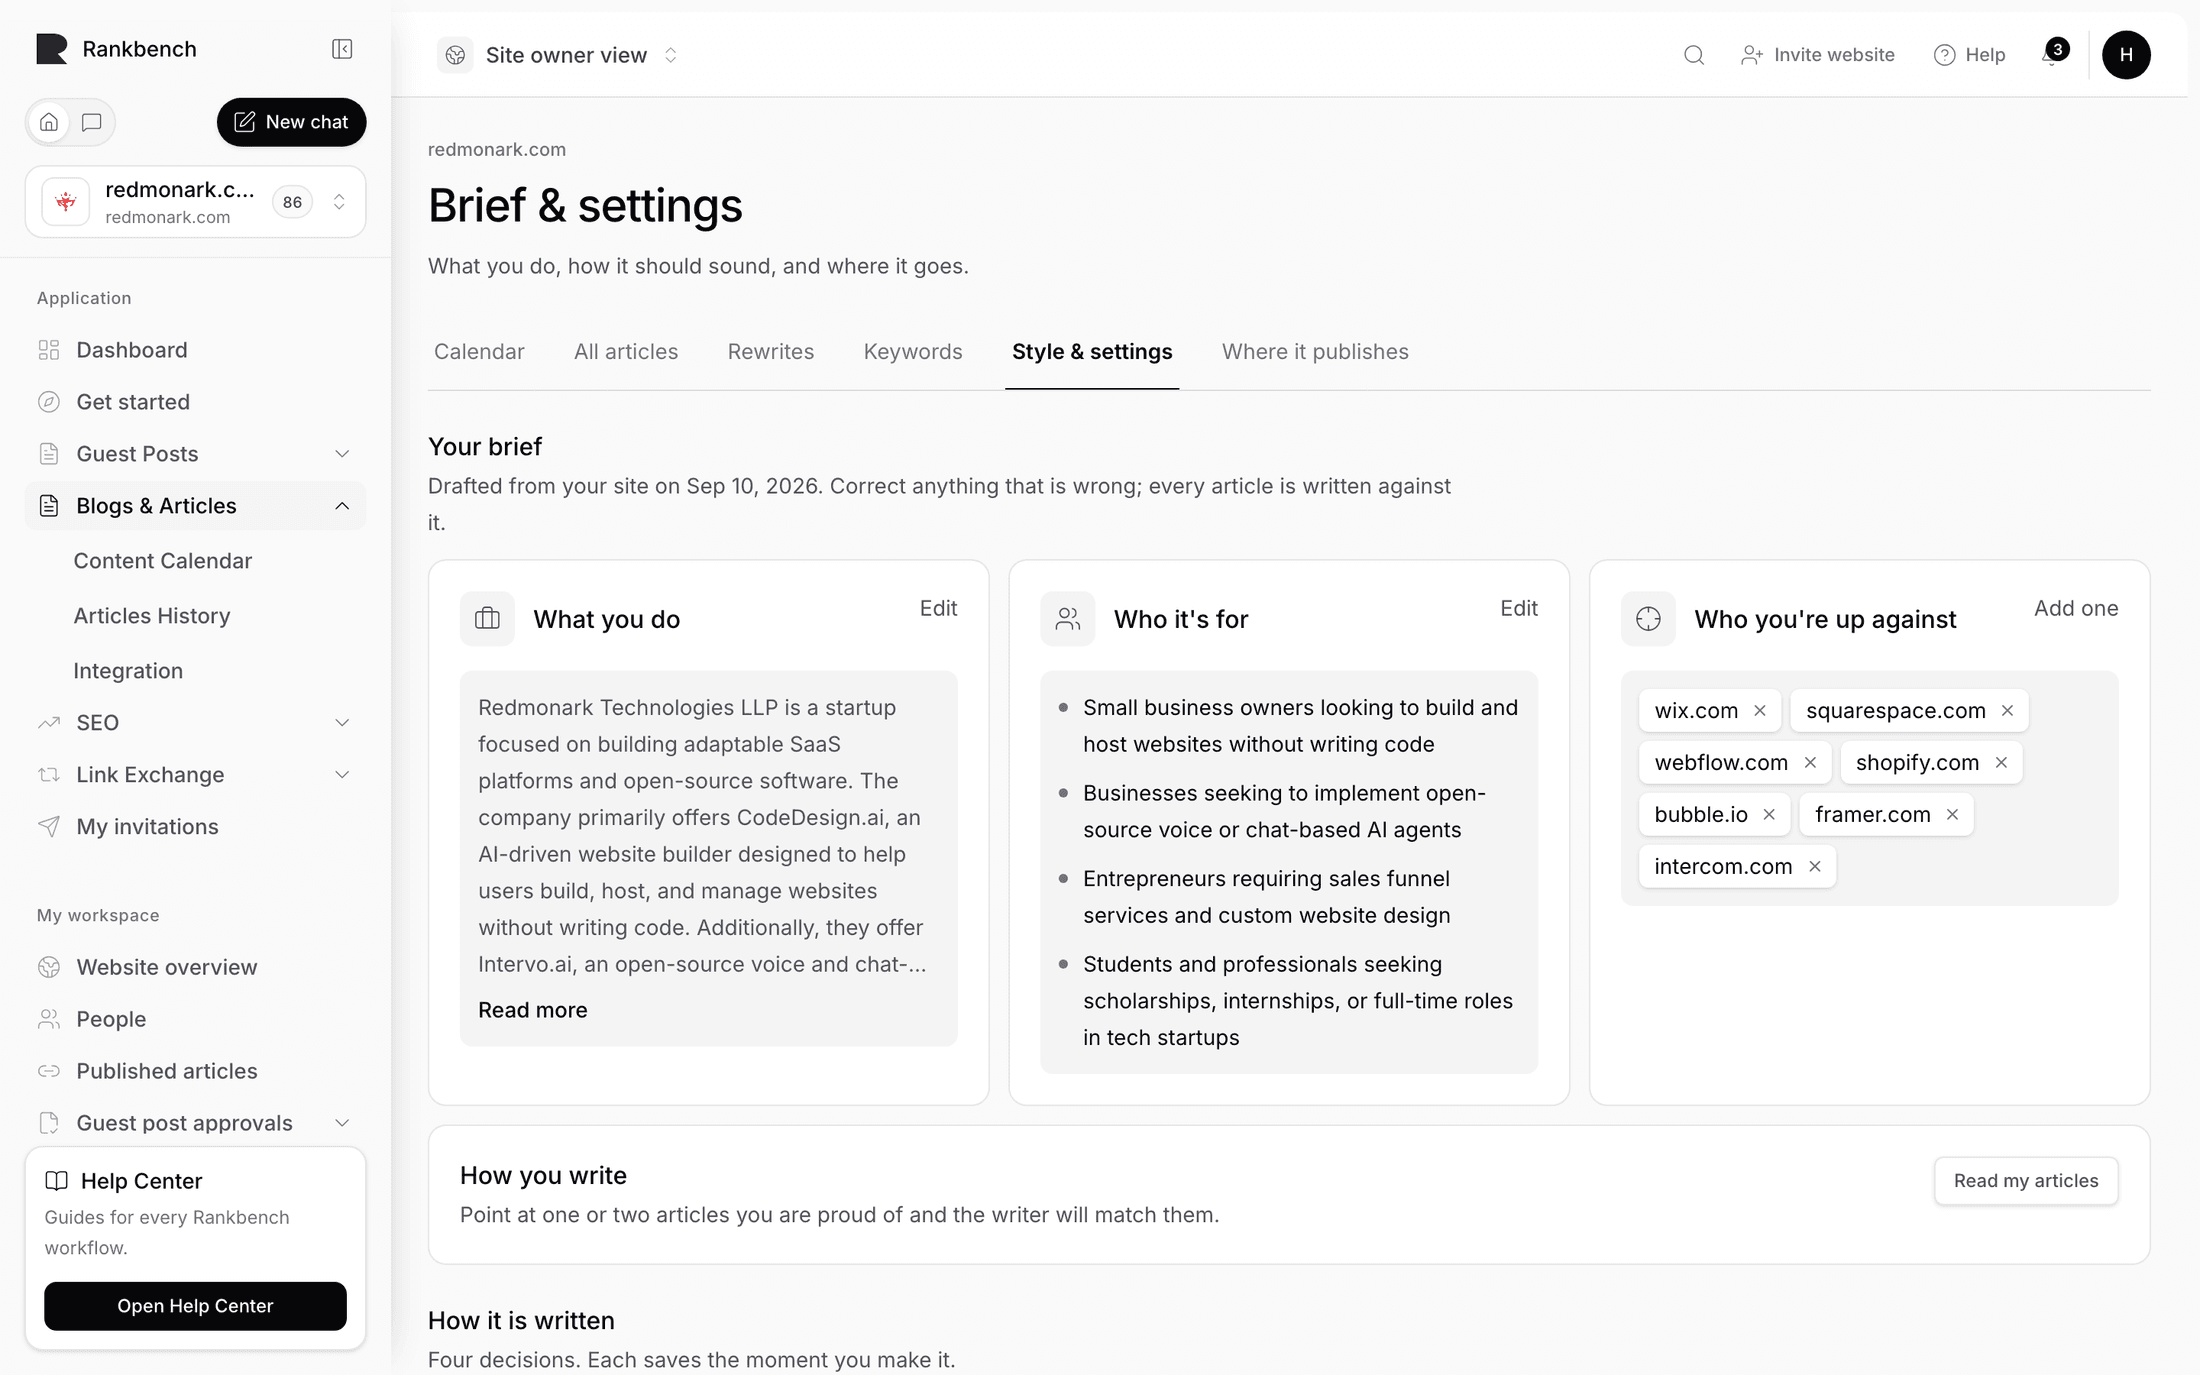
The Style & settings tab is where you decide the things that apply to every article rather than to one. The page describes itself as "How articles for this site should read, how often they go out, and what every one of them must include."

Settings are grouped into three collapsible sections plus a single switch at the top. Each section states what its answers change, so you are not guessing which controls actually affect the output.

Keep this calendar rolling

The switch at the top of the page, on by default. With it on, "a new day is added automatically as each one comes into range, so you always have about a month planned ahead". Turn it off and, in the settings' own words, the calendar simply runs out.

Turning it off does not delete anything. Days already planned stay planned, and articles already written stay written. It only stops the calendar extending itself. When it is off, the panel below the calendar grid tells you automatic top-ups are switched off, so a calendar that has quietly stopped growing explains itself.

Publishing schedule

Summarised as "How often you publish, and in which timezone", and it matters more than it looks: this group decides which days get an article, and when a day counts as today, which is what unlocks each article for writing.

Articles per week takes any number from 1 to 7. Fewer than seven spreads the days across the week rather than clumping them together, so three a week gives you three reasonably separated days rather than a Monday-Tuesday-Wednesday block.

Your timezone decides when a day flips over. The hint is precise about why it exists: "An article unlocks at midnight in this timezone, not on the server's." If your articles keep becoming available a day late or early, this is the setting.

Changing the cadence does not rearrange days that are already planned. It applies from the next planning run, which means either the nightly top-up or the next time you press Refresh keywords.

How the writing should sound

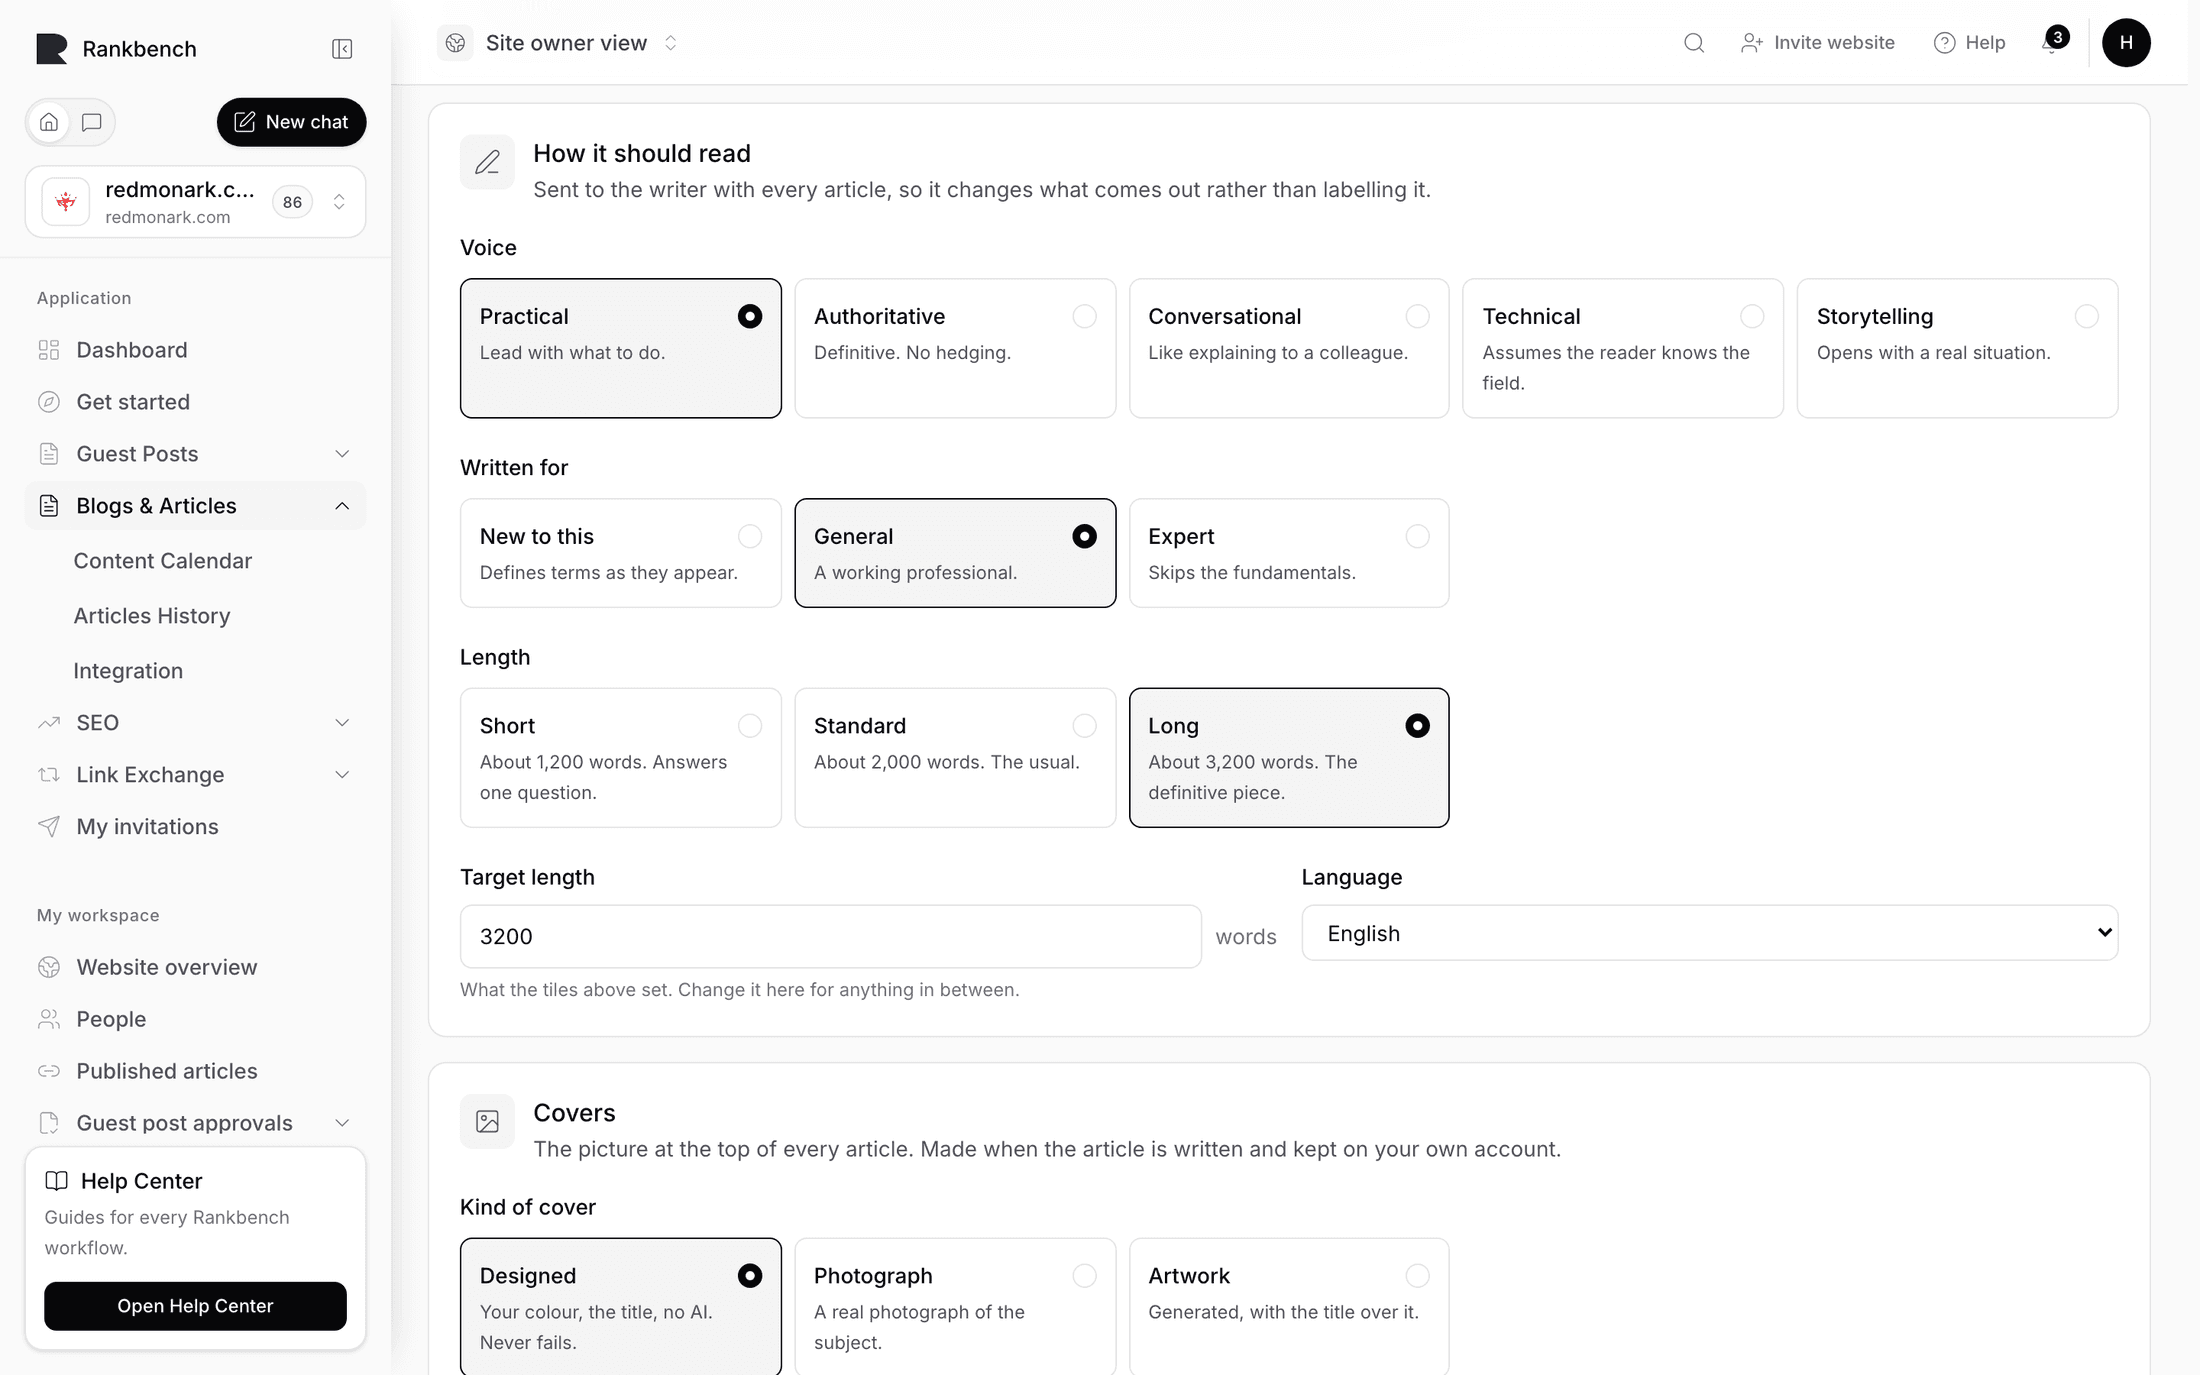
Summarised as "Voice, length and reading level", and everything in it is passed to the writer as an instruction on every article, so these change the output rather than just labelling it.

Style offers five voices, each described by what it does rather than by an adjective: practical leads with what to do, authoritative is definitive with no hedging, conversational reads like explaining to a colleague, technical assumes domain fluency, and storytelling opens with a situation.

Who is reading sets the reading level. General assumes a working professional, beginner defines terms as they appear, and expert skips the fundamentals.

Target length is a word count between 300 and 6000. The hint is honest about it: the writer aims for it rather than hitting it exactly.

Language takes a language code such as en.

Brand name is optional. Leaving it blank keeps articles brand-neutral, which is usually right for informational pieces.

Voice notes is a free text box for rules the dropdowns cannot express. The placeholder gives the flavour: never call the reader a user, always say you.

Who your audience is is the same kind of box for who you are writing for, for example agency owners running five to twenty client sites. This is worth filling in properly. A model writing for "agency owners running client sites" makes different choices from one writing for nobody in particular.

Phrases to never use is a comma-separated list, and the hint is unambiguous: "These are forbidden outright." Whatever you list is passed to the writer as a hard rule. This is the setting for the tics you keep deleting by hand.

Tip

Fill in banned phrases from experience rather than from a list you found somewhere. Read your first two or three drafts, note the phrases you deleted, and add those. Three real ones beat thirty imagined ones.

What every article should include

Summarised as "Links, FAQ, takeaways and images". These are structural choices applied to each article, so you are not editing the same things back in thirty times a month.

Internal links per article sets how many links to your own pages the writer should work in, between 0 and 20. The links are taken from pages found in your site audit, so the URLs are real ones from your site rather than invented.

External links per article does the same for links out. Setting it to 0 forbids them entirely, and the writer is told to omit any link it is not sure exists.

Featured image chooses what the article's lead image should be: None, Generate one for every article, Suggest a stock search, or Use the first image in the article.

Image style picks the look used for pictures: illustration (flat vector, two tones), sketch, watercolour, realistic editorial photography, isometric, or a brand style using your colour. Screenshots are not affected by this setting.

Put the article title on the featured image draws the title over the picture afterwards rather than asking for it inside the image, which is why the words come out legible.

Start each article with a short key-takeaways list and End with an FAQ built from the related search queries are two switches for the article's top and tail. The FAQ is built from the related Search Console queries in the article's brief, so its questions are ones people actually typed.

Warning

Whether an image actually appears depends on image generation being configured on the deployment you are using. If it is not, the settings still save, the featured image fields still travel to your CMS, and articles publish without pictures. Generate one draft and look at it before promising anyone illustrated posts.

The Style and settings page with the publishing schedule section open, showing articles per week and timezone
Each section states what its answers change, above the controls themselves.

When settings take effect

Press Save settings. A short "Saved." appears when it lands.

Voice, length, linking and structure settings are read at generation time, so they apply to the next article written and not to drafts that already exist. If you want an existing draft to follow a new voice setting, generate it again, and remember that regenerating discards edits you made by hand.

Cadence and timezone are read at planning time, so they apply from the next planning run.

The Keep this calendar rolling switch takes effect immediately.

The nightly top-up

Left alone, the calendar keeps itself going. Each night a background job plans the day that has newly come into range, and if the keyword pool has run dry it mines for more first so tomorrow is not left empty. Then it writes whatever articles are now due.

That last step is capped. A calendar that has sat idle for a fortnight catches up gradually rather than firing fourteen model calls in one night, and the rest are picked up on following nights. You can always write one yourself from the calendar with Write it now rather than waiting.

The top-up is why the calendar stays roughly thirty days deep without you touching it, and why a draft can be waiting for you in the morning. It runs on its own schedule; there is no time of day to set and no promise about exactly when it will happen. When a draft is ready, you get an in-app notification about it. See How Rankbank tells you things.

If you would rather nothing was written without you asking, turn off Keep this calendar rolling.

Where to go next

  • Reviewing and editing a draft is where these settings show their effect.
  • Steering an article before it is written covers per-article instructions, which sit on top of these.
  • Setting up your calendar covers the build and the Refresh keywords button.
← Publishing and what happens next

Still stuck?

Open Rankbank and the page this article describes — most screens explain themselves as you go.

On this page

Keep this calendar rollingPublishing scheduleHow the writing should soundWhat every article should includeWhen settings take effectThe nightly top-upWhere to go next
Rankbank — Editorial collaborationOpen RankbankHelp home