
How to get started with Automatic backlinks
Updated · First published · 3 min read
Automatic backlinks trades links continuously, inside articles your content calendar was going to write anyway. It suits you if you publish regularly, want links, and would rather not spend an afternoon a week negotiating them.
Note
Before you start: articles planned in your content calendar, and Rankbench Pro. The manual backlink exchange stays free for everyone. See how to plan and publish a month of content.
Step 1: Turn it on
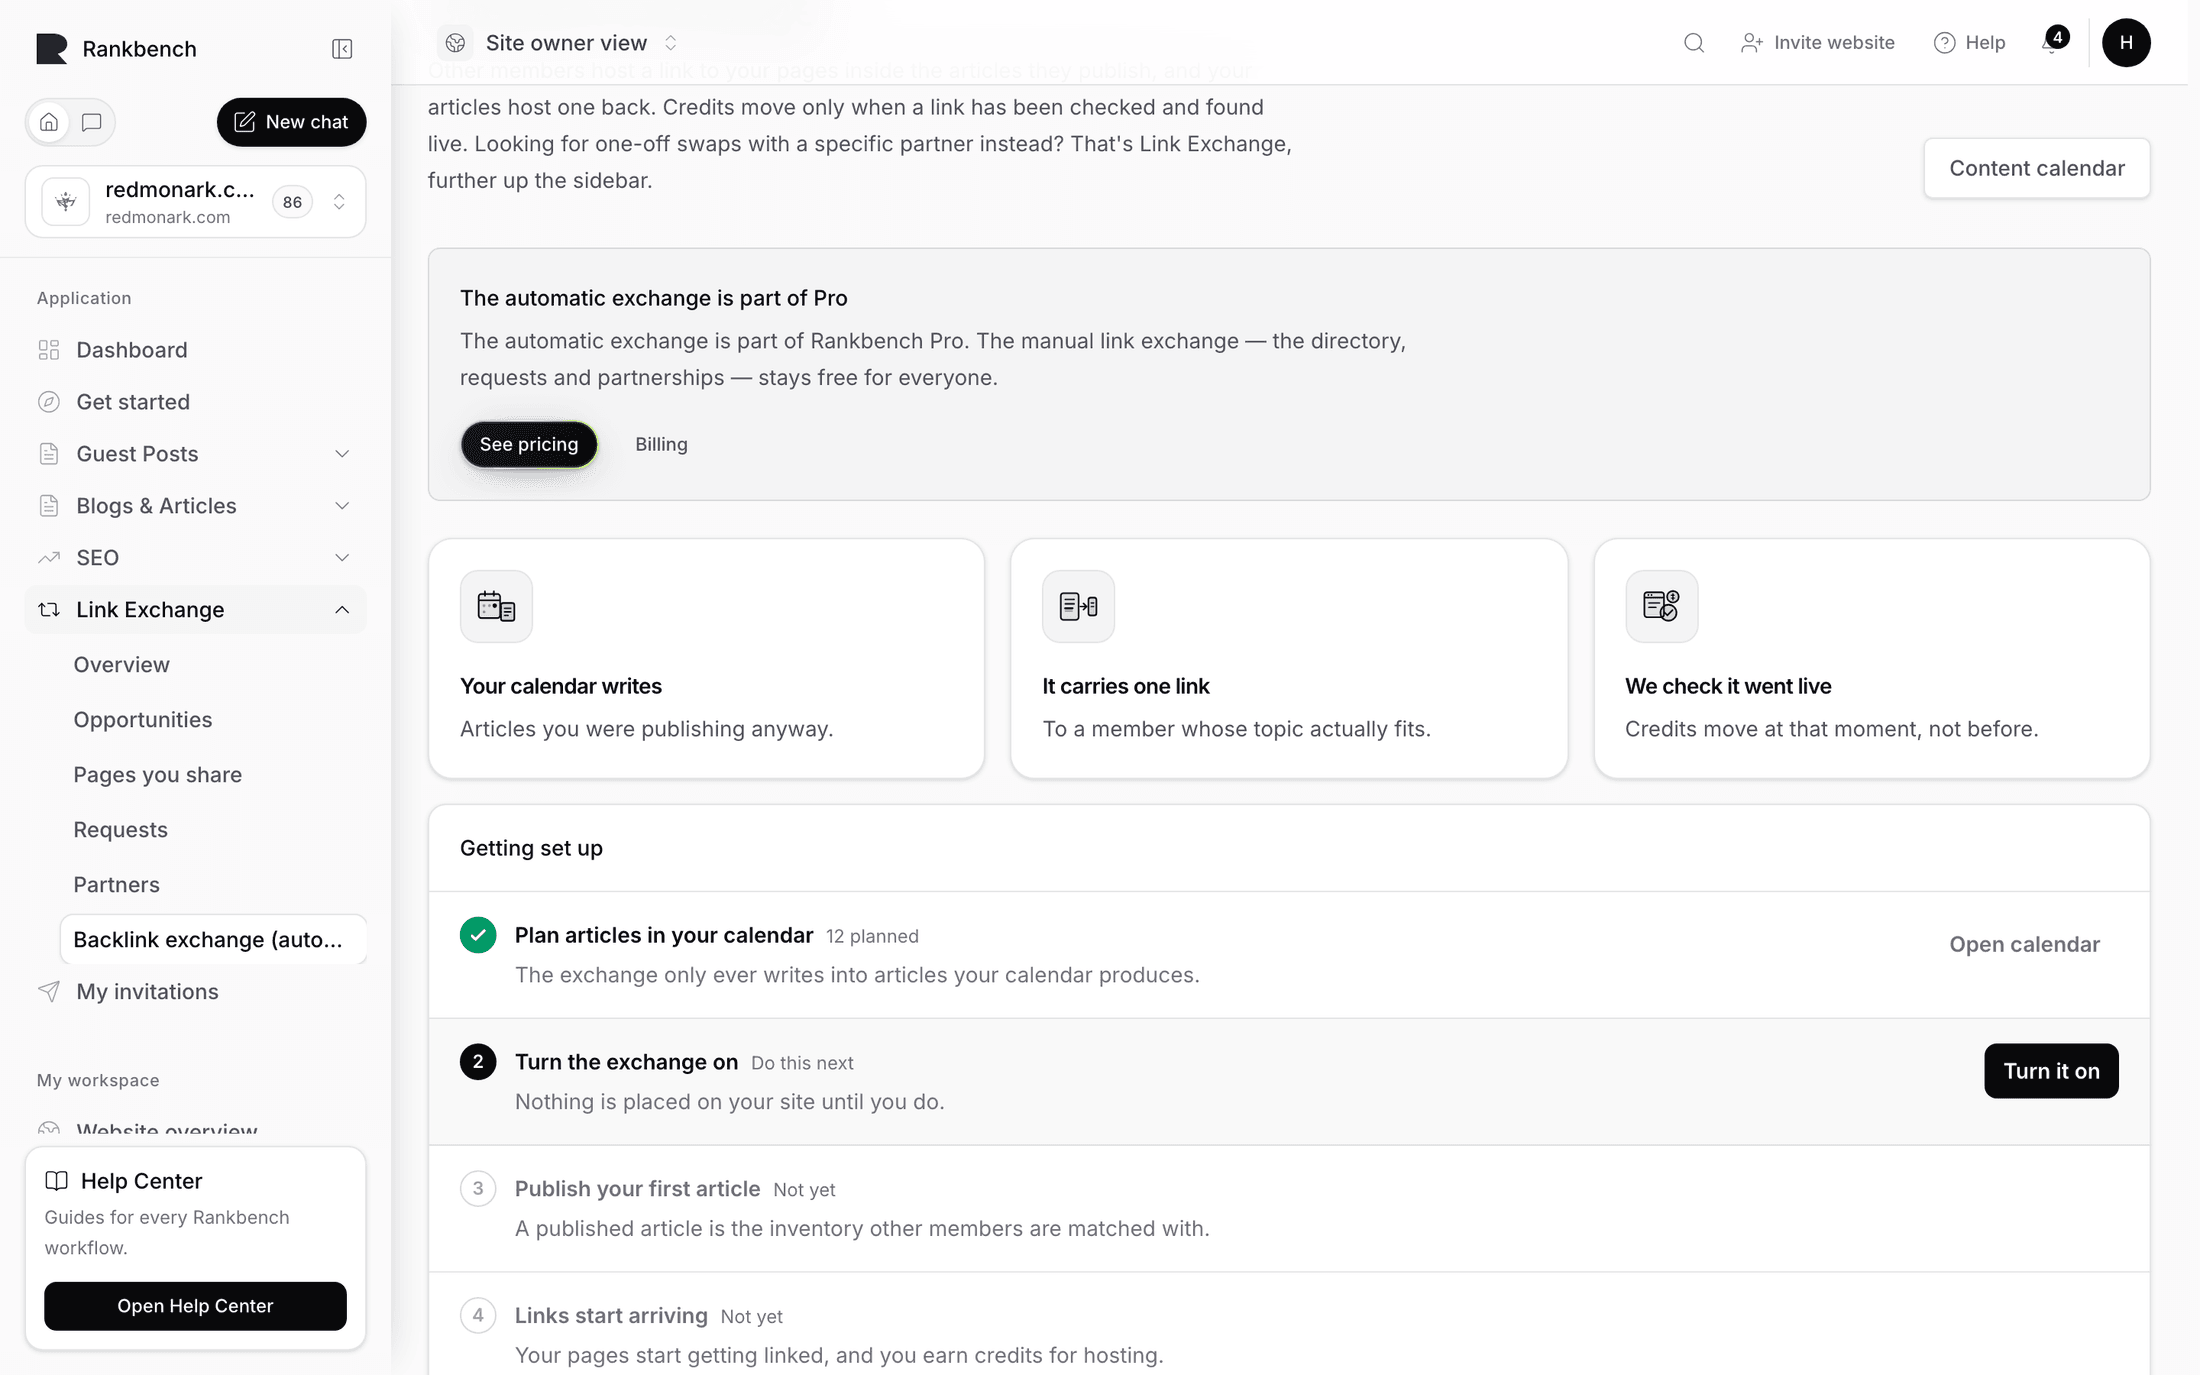
Open Automatic backlinks. Before you join, the page explains what the exchange does and lists the steps to joining, with the one you are on marked. Press Turn it on. Nothing is placed on your site until you do.
You start with a balance of credits. The rules are short: one link per article, and no money changes hands.
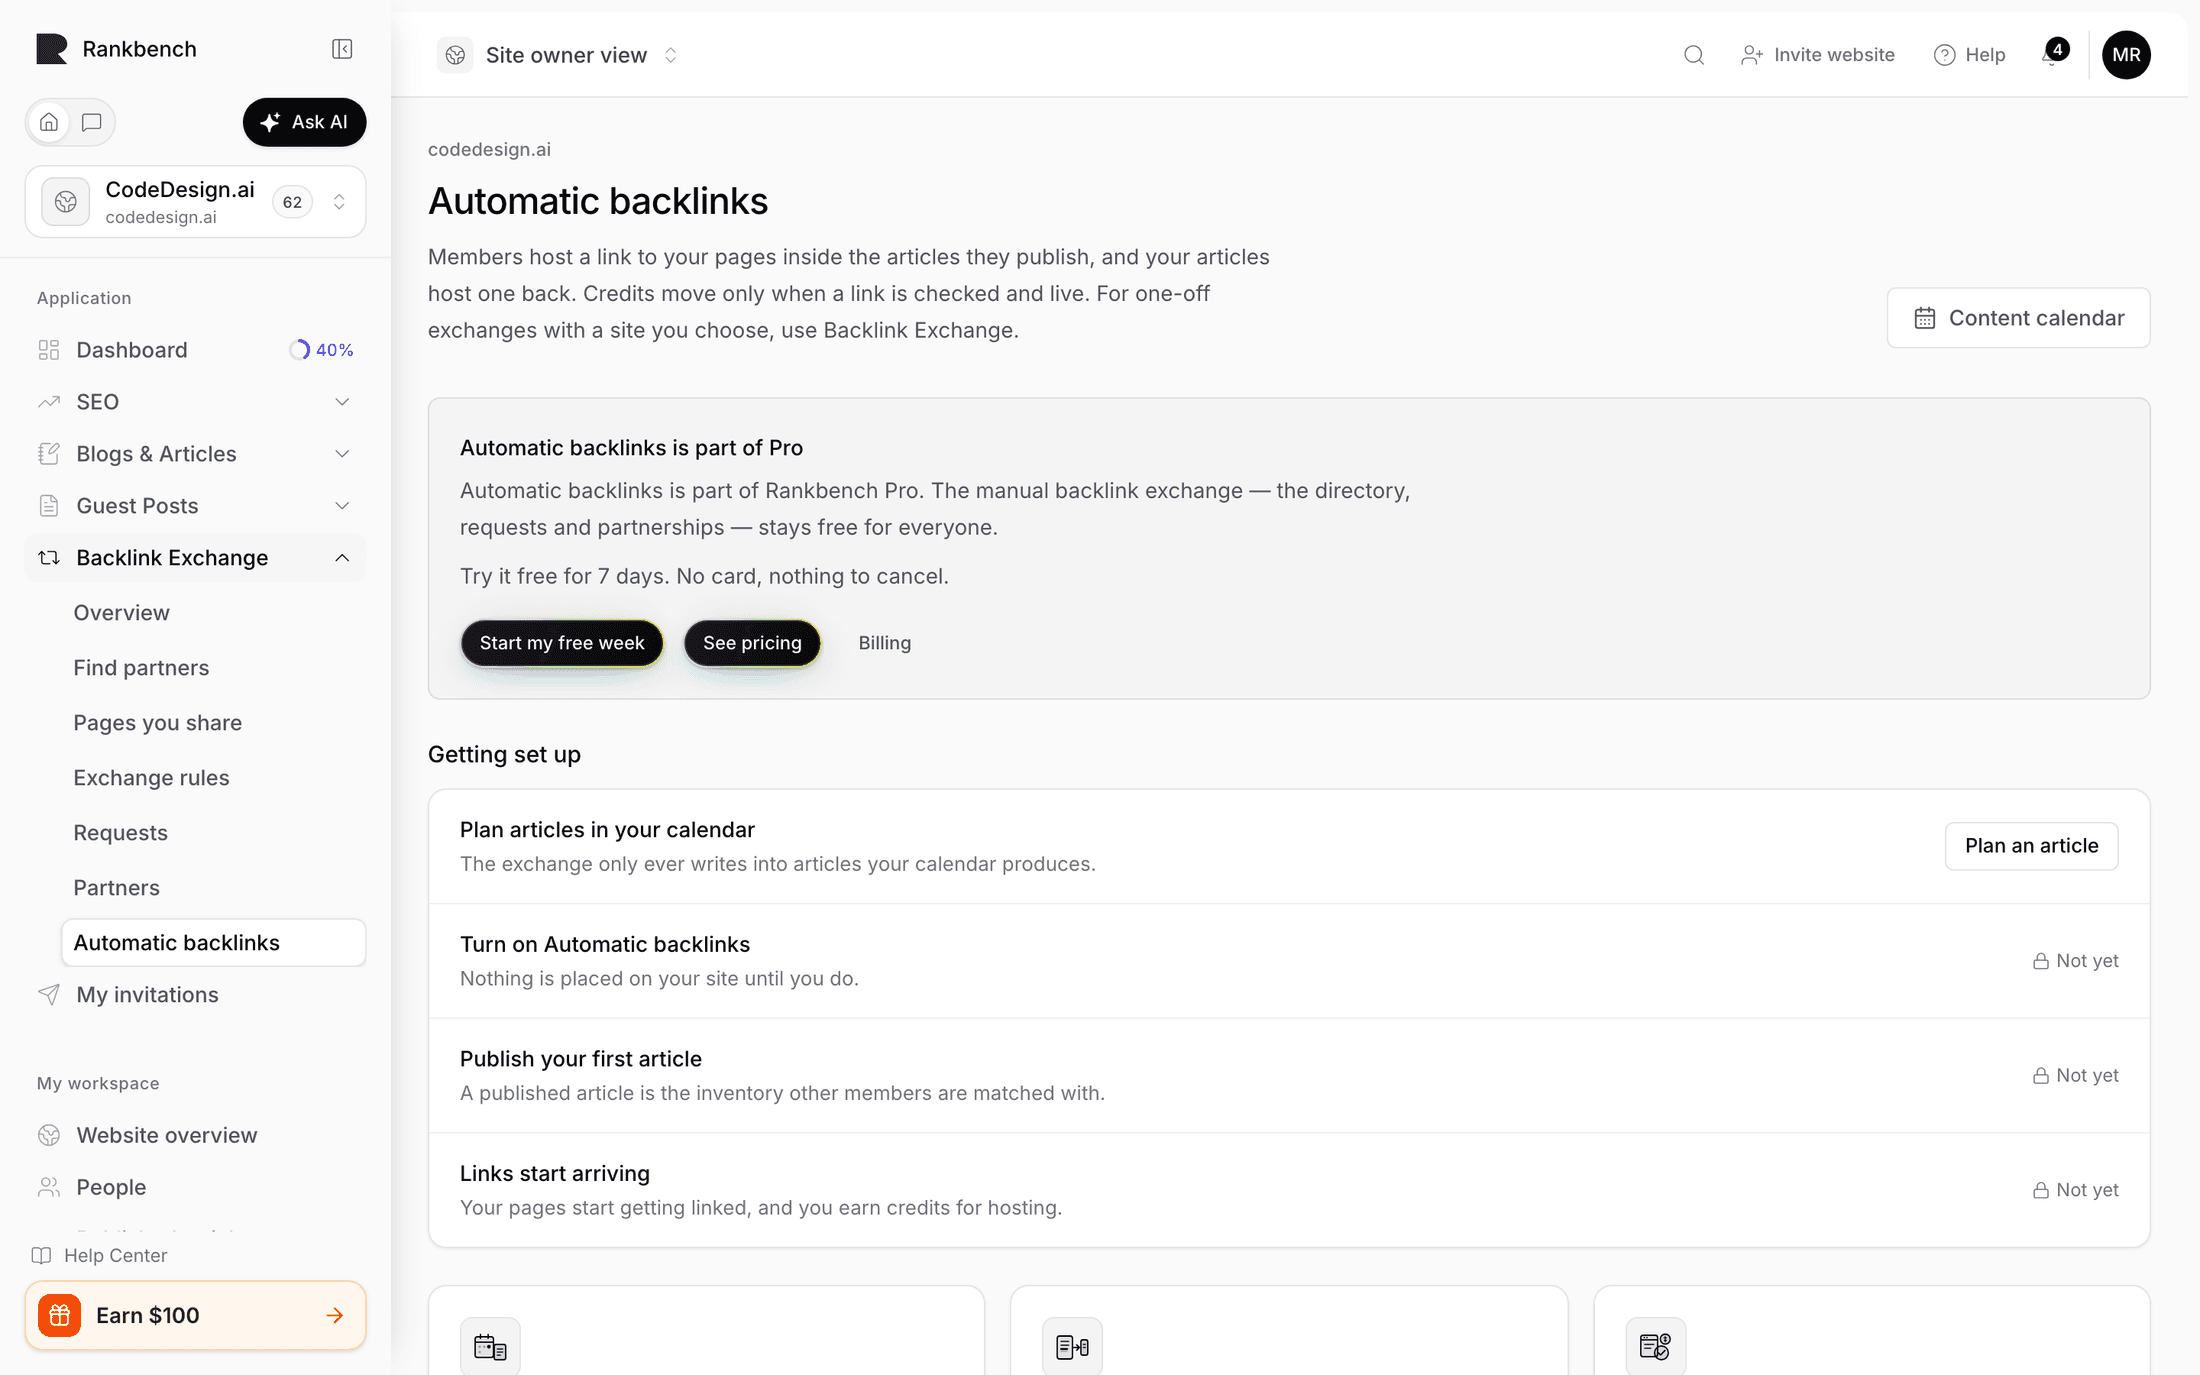
Step 2: Choose your settings before your first article goes out
Once you are in, the settings sit at the bottom of the page. The exchange doesn't ask you each time, so they are where you do all your deciding.
- Set Minimum host authority. Higher means fewer, stronger links and a longer wait. Zero accepts anyone. If you're unsure, start in the middle.
- Put direct competitors in Blocked domains, one per line. It works both ways: you won't host their links and they won't host yours.
- Put subjects you won't publish about in Blocked topics.
- Decide whether to Mark links you host as sponsored.
- Switch on Review each hosted link before it publishes for the first month. It starts off.
- Press Save changes in the bar at the bottom.
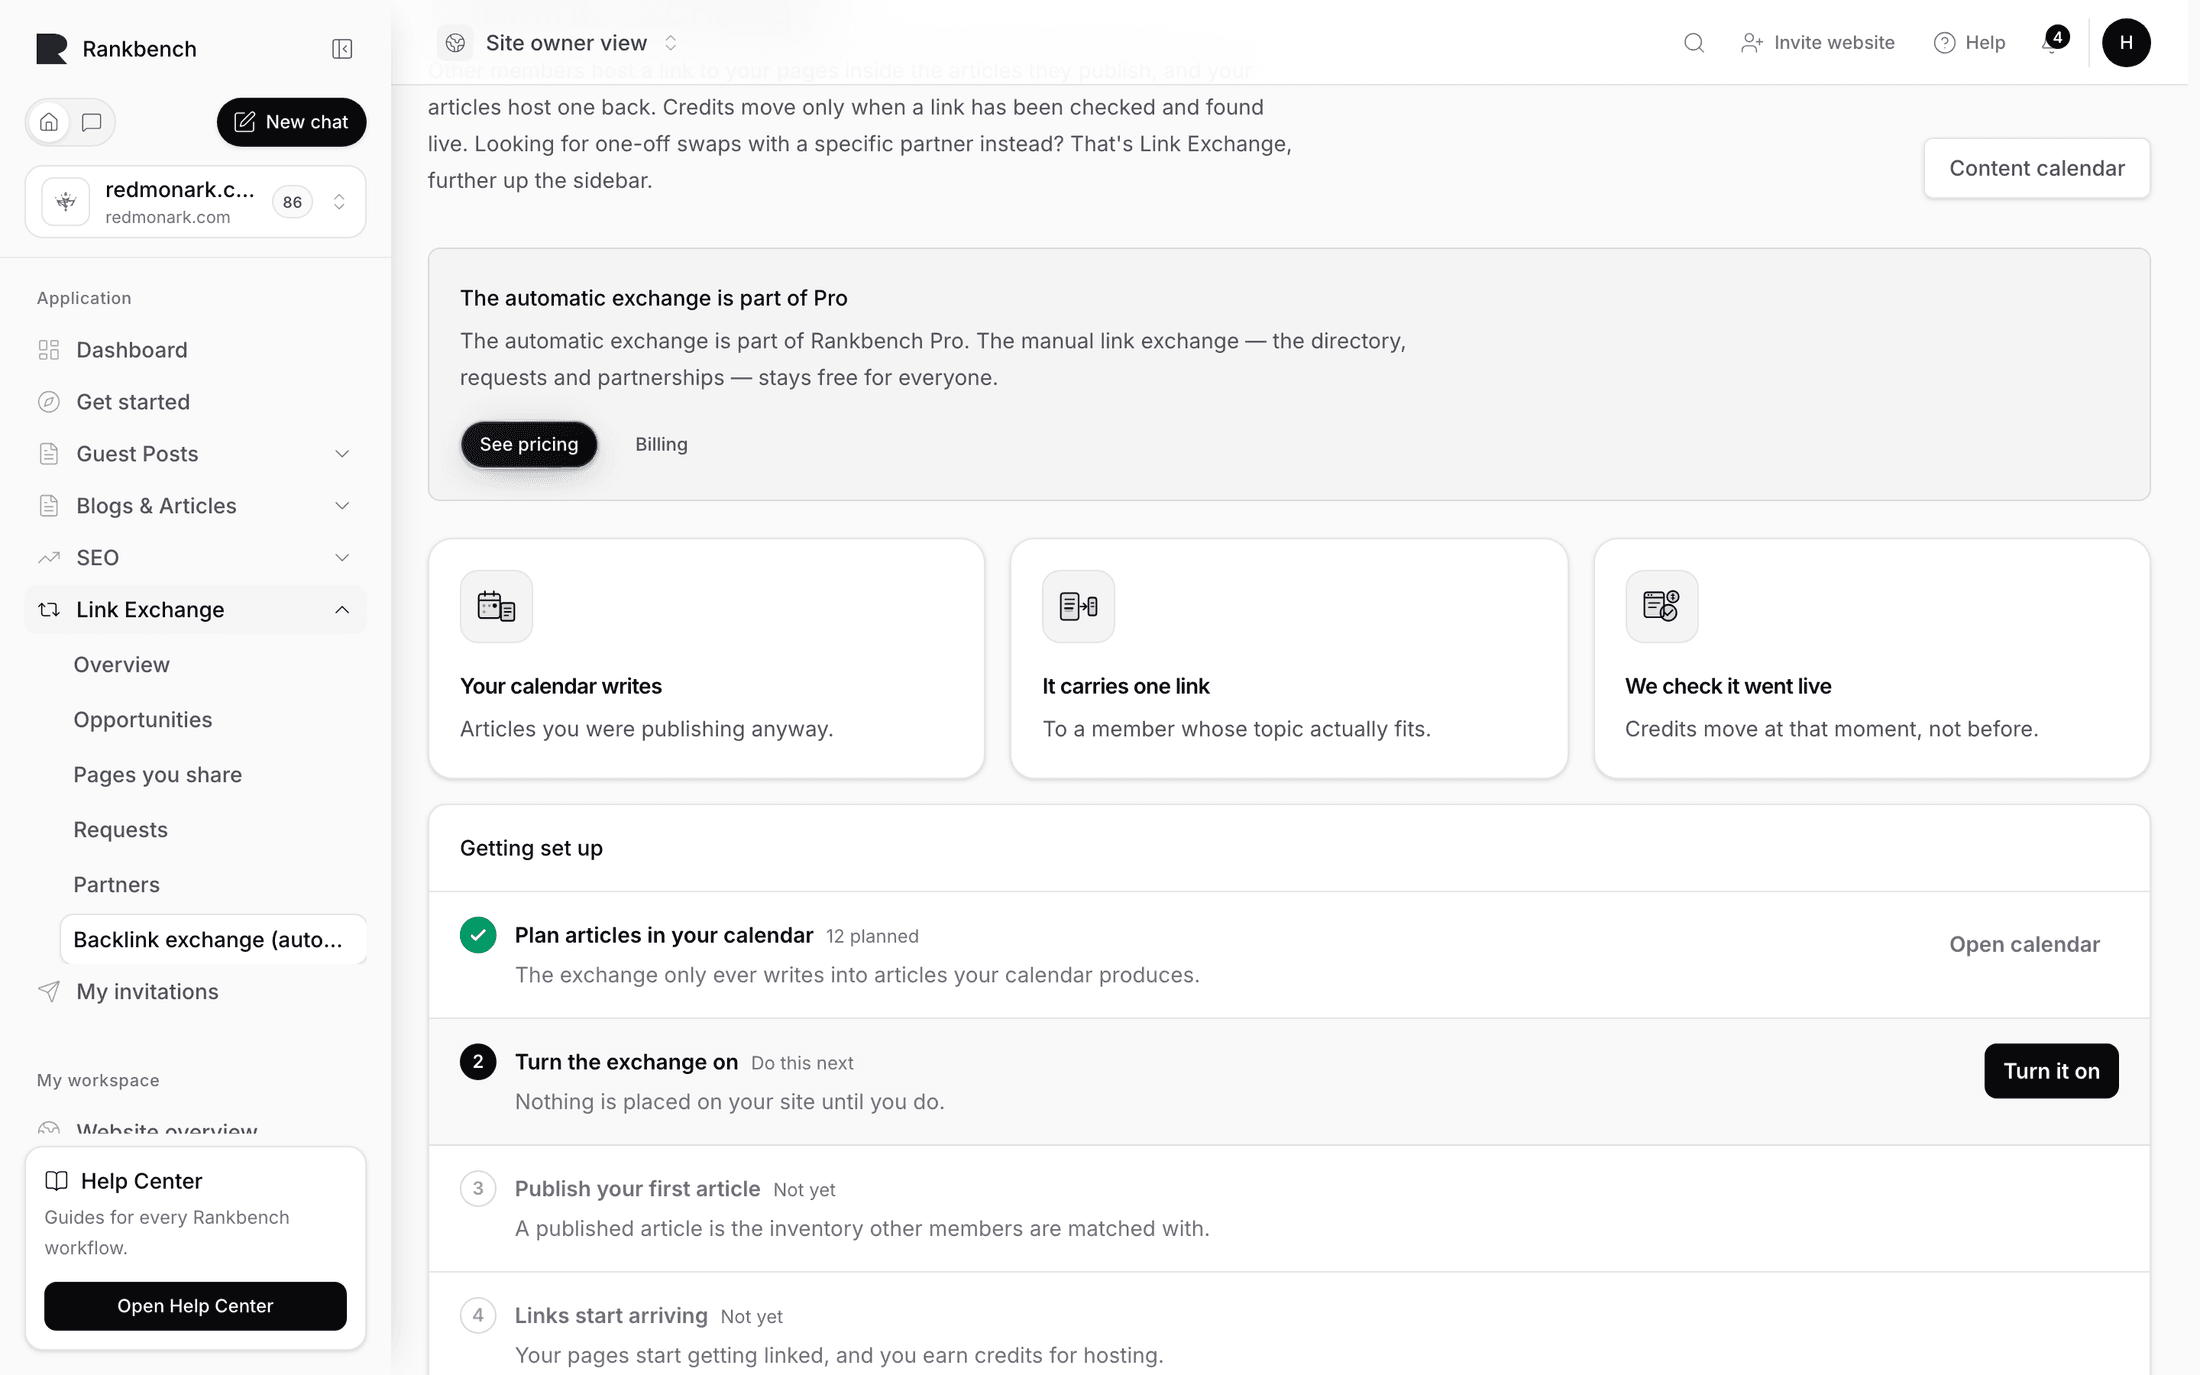
Step 3: Review your first hosted link
Your calendar writes an article as usual. Because review is on, it waits for you instead of going out.
- Check the link sits somewhere sensible. A link about warehouse software in an article about hiring is a match you wouldn't have made.
- Check the wording reads like your prose. It should be a sentence, not a slot.
- Publish if both are right.
Tip
Once a dozen placements have landed where you'd have put them yourself, switch review off and let it run.
Step 4: Earn your first credit
Credits move only when a link has been checked and found live on the page. Not when the placement was agreed, and not when the article was written.
It works the same the other way round: a link to your pages costs you a credit only once it's confirmed. So a placement that quietly failed has cost you nothing.
Step 5: Read your placements
There are two lists: Links you've earned, from other members pointing at your pages, and Links you're hosting, inside your own articles pointing at theirs.
Not live yet is normal for a new placement. The needs attention panel holds links that aren't where they should be, usually because the article was edited or the page moved.
Placements are checked when they should go live, then again soon after, at a week, a month and a quarter. Most failures happen early. If a link is restored, you're told.
Step 6: Check in at the end of the month
- Your credit balance. Falling means you're receiving more than you host, which is fine if you know it.
- The mix of sites linking to you. If your authority floor is too low, this is where it shows.
- Your authority reading in the SEO section. It moves over months, so look for direction.
You can pause at any time, during a rebrand for example. Existing placements carry on; new matching stops.
What to do next
- Settings and credits
- Reading your placements
- How to do your first backlink exchange, the manual version, which stays free
Still stuck?
Open Rankbench and the page this article describes — most screens explain themselves as you go.